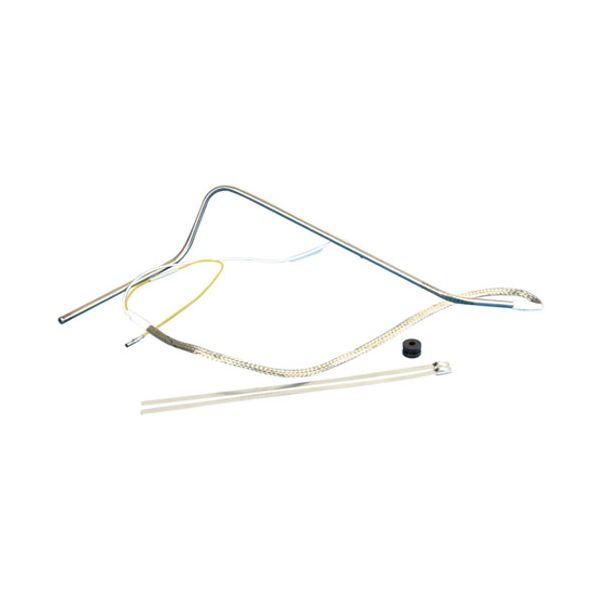
Frymaster 826-2212 Fryer Probe Replacement Kit

Special Price $116.61 Regular Price $260.05
In stock
SKU
826-2212
The Frymaster 826-2212 Fryer Probe Replacement Kit is used to fix a damaged or worn-out probe. This assurance regulated temperatures for better frying where the oil is well regulated to give a crispy and even end product. It tracks the heat in oil and signals the thermostat of a fryer as a way of maintaining heat that is appropriate for frying. Some of the benefits include; improved efficiency in cooking, less energy use and better quality of foods. It is suitable for monitoring the condition of fryer, safety and service life of the equipment.

Dimensions

  • Length: 11.5 In
  • Width: 10 In
  • Height: 2.5 In
  • Weight: 0 lbs
https://partsfe.com/media/catalog/product/f/r/frymaster-826-2212-fryer-probe-replacement-kit-61110-2.jpg

Product Notes

  • Probe Kit
  • Frymaster Electric Fryers Bire14, Mre14, Re14, Re17, Re22
Write Your Own Review
You're reviewing:Frymaster 826-2212 Fryer Probe Replacement Kit
Your Rating
Customer Questions
What are the Components of an Ice Machine?

An ice machine is a device that produces and stores ice. It is used by people who wish to have cold drinks or food at home, or by those who wish to have cold storage for their Refrigerators Parts. ParstFe is your one stop solution for Manitowoc, Scotsman...

What maintenance is required for the Frymaster 826-2212 Probe Replacement Kit?

  • Clean the Fryer probe regularly to remove grease and food residue that can affect temperature readings.
  • Inspect wiring and connector to ensure stable signal transmission and prevent intermittent faults.
  • Replace probe if calibration drifts or physical damage is detected during inspection.

What are common issues with the Frymaster 826-2212 Probe Replacement Kit?

  • Temperature reading inaccuracies due to probe damage or contamination.
  • Loose or damaged wiring causing intermittent sensor failure.
  • Corrosion at connector affecting signal stability and fryer performance.
  • Physical probe damage leading to erratic heating control response.

We strive to provide our customers with a hassle-free and efficient shopping experience. Our shipping policy ensures the timely delivery of your orders and complete customer satisfaction. View More

We are committed to ensuring your complete satisfaction with every purchase. We understand that circumstances may arise where you must return a product or request a refund. If for any reason you are not satisfied, you may return the item(s) according to the terms outlined below. View More

This Payment Policy outlines the terms and conditions governing all payments made for products purchased through our website. By making a purchase, you agree to be bound by this Payment Policy. View More

Installation Steps

Step1: Disconnect fryer from power and allow oil to cool completely for safety.

Step2: Remove access panel and locate faulty temperature probe assembly.

Step3: Carefully disconnect wiring harness and unmount old probe.

Step4: Install new probe kit securely, reconnect wiring as per terminals.

Step5: Reassemble panel, restore power, and test temperature accuracy.

Step6: Verify secure connections and ensure no leaks or exposed wires before operation carefully.