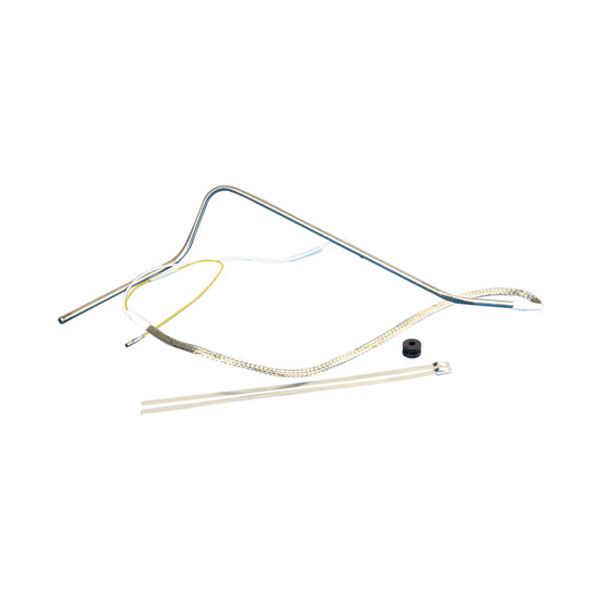
Frymaster FM8262212 Fryer Probe Replacement Kit

Special Price $116.61 Regular Price $260.05
In stock
SKU
FM8262212
The Frymaster FM8262212 Fryer Probe Replacement Kit enables users to change flawed temperature probes so they maintain accurate thermal levels throughout frying operations. The kit contains all required components which allow simple installation to restore fryer performance and maintain proper cooking temperatures. The replacement kit Improves your fryer's energy efficiency and food quality and maintains proper cooking temperatures which results in longer fryer life and reduced maintenance expenses. The replacement kit supports both safety measures and precise performance while enhancing total fryer functionality.

Dimensions

  • Length: 11.5 In
  • Width: 10 In
  • Height: 2.5 In
  • Weight: 0 lbs
https://partsfe.com/media/catalog/product/f/r/frymaster-fm8262212-fryer-probe-replacement-kit-76256-2.jpg

Product Notes

  • Probe Kit
  • Frymaster Electric Fryers Bire14, Mre14, Re14, Re17, Re22
Write Your Own Review
You're reviewing:Frymaster FM8262212 Fryer Probe Replacement Kit
Your Rating
Customer Questions
What are the Components of an Ice Machine?

An ice machine is a device that produces and stores ice. It is used by people who wish to have cold drinks or food at home, or by those who wish to have cold storage for their Refrigerators Parts. ParstFe is your one stop solution for Manitowoc, Scotsman...

What maintenance is required for the Frymaster FM8262212 Probe Replacement Kit?

Clean the probe regularly and inspect wiring for corrosion or loose connections to ensure accurate temperature readings. Proper maintenance prevents fryer temperature errors and cooking inconsistencies. Always disconnect power before servicing and replace damaged components promptly for safe operation.

What are common issues with the Frymaster FM8262212 Probe Replacement Kit?

  • Inaccurate temperature readings due to probe drift or contamination.
  • Loose or damaged wiring causing intermittent signal loss.
  • Probe failure leading to unstable fryer heating cycles.
  • Corrosion or grease buildup affecting sensor responsiveness.

We strive to provide our customers with a hassle-free and efficient shopping experience. Our shipping policy ensures the timely delivery of your orders and complete customer satisfaction. View More

We are committed to ensuring your complete satisfaction with every purchase. We understand that circumstances may arise where you must return a product or request a refund. If for any reason you are not satisfied, you may return the item(s) according to the terms outlined below. View More

This Payment Policy outlines the terms and conditions governing all payments made for products purchased through our website. By making a purchase, you agree to be bound by this Payment Policy. View More

Installation Steps

Step1: Disconnect power supply and let fryer cool fully; wear heat-resistant gloves for safety again.

Step2: Remove access panel and locate the existing probe assembly inside the fryer tank.

Step3: Carefully disconnect wiring terminals, labeling connections to ensure correct reinstallation.

Step4: Install new probe into bracket securely and reconnect wires as previously noted.

Step5: Reassemble panel, restore power, and test fryer temperature for proper operation.