
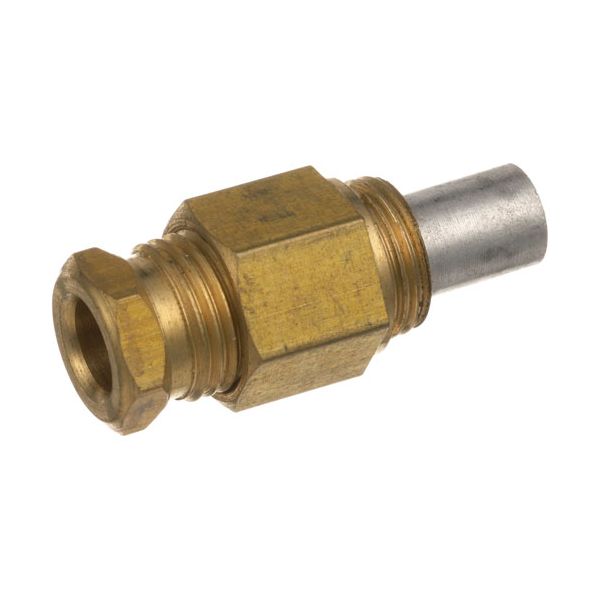
Hobart 920331-00012 Pilot Orifice LP 1/4" CCT

$4.64
In stock
SKU
920331-00012
Manufacturer:

The Hobart 920331-00012 Pilot Orifice LP 1/4" CCT is used to regulate the amount of gas flowing to the pilot assembly of commercial cooking equipment to maintain a steady ignition flame. It works by permitting accurate passage of gas by the counter-bored opening to the pilot burner. It is an essential part of the ignition system of the appliance, as it assists the appliance in starting up correctly and maintaining the regular operation of the burner. It assists in ensuring the safe operation of a general appliance when in normal operation.

Dimensions

  • Length: 1.5 In
  • Width: 0.25 In
  • Height: 0.25 In
  • Weight: 0.1 lbs
https://partsfe.com/media/catalog/product/h/o/hobart-920331-00012-1-4-cct-pilot-orifice-w-counter-bored-flat-012-87609-2.jpg

Product Notes

  • Pilot Orifice For Lp Gas, Baso,
  • 1/4" Cct, .012", Counter Bored Flat,
  • Also See A2289, # 26-2069 (.013")Lp
  • For Nat Use A1248, M-141B, # 26-1675, .021"
  • American Permanent Ware Griddle Ggm, Ggt
  • Cecilware Fryer Gf16, Gf28, Fm28
  • Nieco Broiler 940, 960, 962.
  • Pitco Fryer
  • Vulcan Griddle Mgg
  • Wolf
Write Your Own Review
You're reviewing:Hobart 920331-00012 Pilot Orifice LP 1/4" CCT
Your Rating
Customer Questions
What is the Best Electric Griddle?

Electric Griddle is an electronic equipment that uses an electric element as its heat source. It has a large cooking surface often made up of nonstick material. Electric Griddle has a surface which you do not find in the regular stovetop cookware. ...

What maintenance is required for the Hobart 920331-00012 Pilot Orifice?

Inspect the pilot orifice regularly for dust, grease buildup, and blockages. Clean gently with compressed air or approved solvent to ensure proper gas flow. Proper maintenance ensures stable ignition and safe operation. Always shut off the gas before servicing.

What are common issues with the Hobart 920331-00012 Pilot Orifice?

  • Blockage in orifice causes a weak or no pilot flame.
  • Irregular ignition or delayed lighting.
  • Gas flow restriction leading to an unstable flame.
  • Wear or corrosion is causing inconsistent performance.
  • Pilot flame extinguishing under pressure changes.

We strive to provide our customers with a hassle-free and efficient shopping experience. Our shipping policy ensures the timely delivery of your orders and complete customer satisfaction. View More

We are committed to ensuring your complete satisfaction with every purchase. We understand that circumstances may arise where you must return a product or request a refund. If for any reason you are not satisfied, you may return the item(s) according to the terms outlined below. View More

This Payment Policy outlines the terms and conditions governing all payments made for products purchased through our website. By making a purchase, you agree to be bound by this Payment Policy. View More

Installation Steps

Step1: Turn off gas and electrical supply to the equipment and allow system to cool.

Step2: Remove existing pilot orifice carefully using proper wrench without damaging threads.

Step3: Install new orifice, ensuring correct alignment and hand-tighten first.

Step4: Tighten securely, then check for leaks using approved leak detection solution.

Step5: Restore supply, test pilot flame, and verify safe operation.