
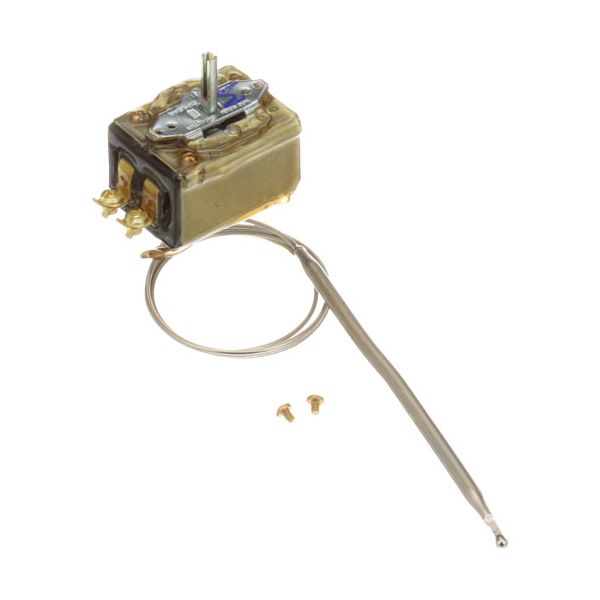
Hobart 960741 G1 Thermostat W/ 1/4" X 6-1/2" Nickel Bulb

Special Price $129.36 Regular Price $199.32
In stock
SKU
960741
The Hobart 960741 G1 Thermostat with a 1/4” x 6-1/2” nickel bulb is a high quality temperature control that is built for accuracy and durability. This thermostat guarantees the better performance through proper control of temperature in the commercial kitchen equipment, for instance ovens or fryers. Its nickel bulb is highly enduring and improves heat conductivity making it ideal for challenging applications. Durable and simple to set up and control, it ensures uniformity of cooked foods, energy conservation, and longer equipment durability. Suitable for business people, it promotes organizational performance and quality food temperature to offer a reliable and economical solution.

Dimensions

  • Length: 7 In
  • Width: 2 In
  • Height: 5.5 In
  • Weight: 0.6 lbs
https://partsfe.com/media/catalog/product/h/o/hobart-960741-g1-thermostat-w-1-4-x-6-1-2-nickel-bulb-84843-2.jpg

Product Notes

  • Thermostat, Type G1, Temp 0-190 F, Cap 36",
  • Bulb 1/4" X 6-1/2" Nickel, 3/16" D-Stem Flat Up.
  • For Indicator Knob Use # 22-1472
  • Wittco Warmer
Write Your Own Review
You're reviewing:Hobart 960741 G1 Thermostat W/ 1/4" X 6-1/2" Nickel Bulb
Your Rating
Customer Questions
What maintenance is required for the Hobart 960741 Thermostat?

Inspect the thermostat regularly for dust buildup and clean gently to maintain accurate temperature sensing. Check wiring terminals for tightness and signs of wear or corrosion. Ensure proper calibration and avoid exposure to moisture or excessive heat for accurate operation.

What are common issues with the Hobart 960741 Thermostat?

  • Inaccurate temperature control due to calibration drift.
  • Intermittent heating or failure to switch on or off.
  • Loose or damaged wiring connections.
  • Sticking or unresponsive thermostat contacts.
  • Erratic temperature fluctuations during operation.

We strive to provide our customers with a hassle-free and efficient shopping experience. Our shipping policy ensures the timely delivery of your orders and complete customer satisfaction. View More

We are committed to ensuring your complete satisfaction with every purchase. We understand that circumstances may arise where you must return a product or request a refund. If for any reason you are not satisfied, you may return the item(s) according to the terms outlined below. View More

This Payment Policy outlines the terms and conditions governing all payments made for products purchased through our website. By making a purchase, you agree to be bound by this Payment Policy. View More

Installation Steps

Step1: Disconnect electrical power to the equipment and allow it to cool completely.

Step2: Remove the access panel to reach the thermostat and sensing bulb assembly.

Step3: Label and disconnect the wires from the existing thermostat terminals.

Step4: Carefully remove the sensing bulb from its mounting location without damaging the capillary tube.

Step5: Install the new thermostat and route the capillary tube along the original path.

Step6: Secure the bulb in its holder and reconnect the wires to the correct terminals.

Step7: Reinstall the access panel, restore power, and test the thermostat for proper temperature regulation.
