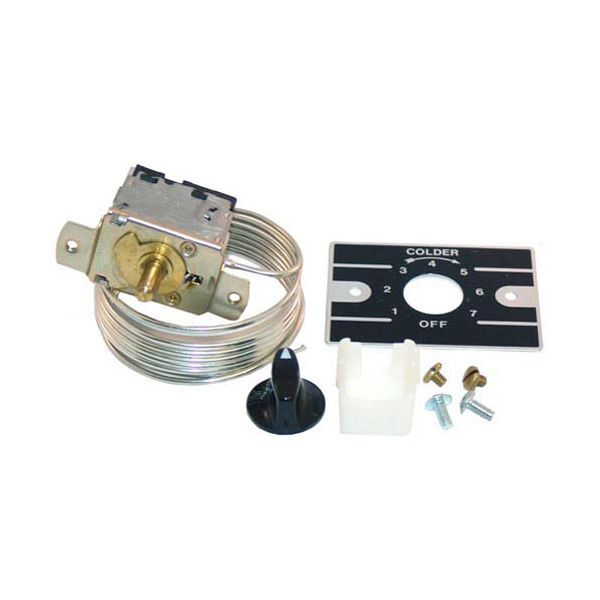
Ranco A30-321-000 Temperature Control W/ Shaft Stem Dial Plate & Knob 66" Cap
Special Price $81.92 Regular Price $126.22
In stock
SKU
A30-321-000
Manufacturer:

This Ranco A30-321-000 Temperature Control operates between 3°F and 47°F which makes it suitable for refrigeration needs in walk-in coolers and freezers. This component equipped with a 66-inch capillary tube which enables installation flexibility in diverse setups. Users can adjust temperatures precisely through the dial plate and knob that connects to the shaft stem. The device maintains steady temperatures which protects perishable items to ensure both their safety and quality standards. The control system works well with Norlake systems allowing users to integrate equipment easily.
Dimensions
- Length: 4.625 In
- Width: 2.75 In
- Height: 2 In
- Weight: 0.28 lbs
Product Notes
- Temp Range 3 To 47 F, Cap 66",
- Shaft Stem With Dial Plate & Knob
- Norlake