Imperial 1037 Range Air Shutter

$4.66
Out of stock
SKU
1037
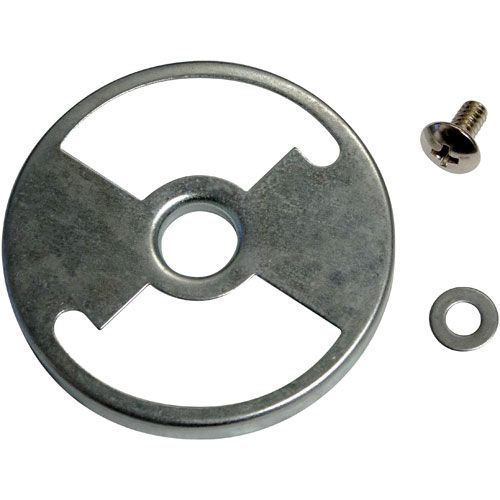
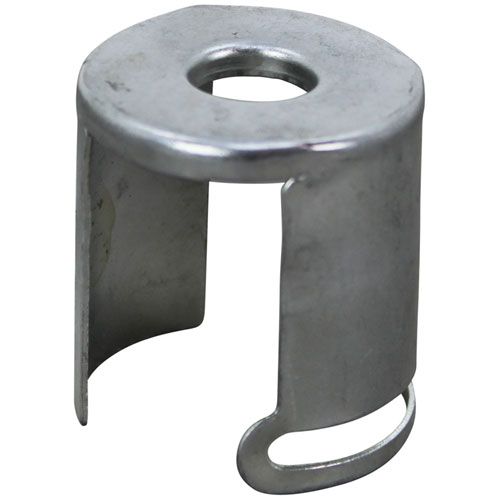
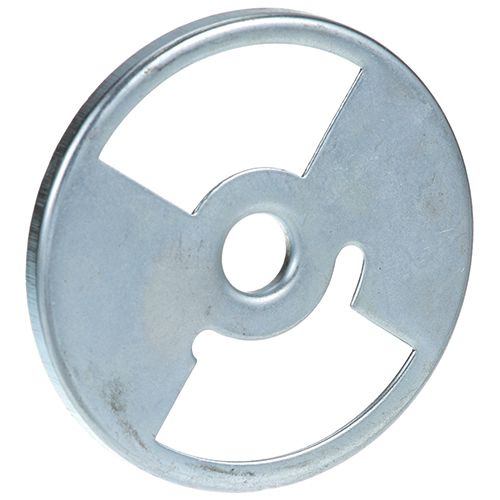
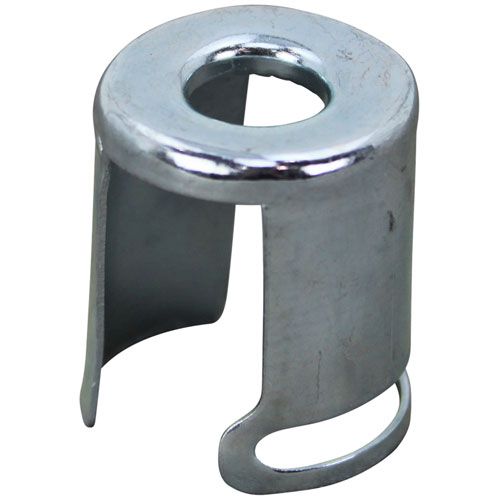
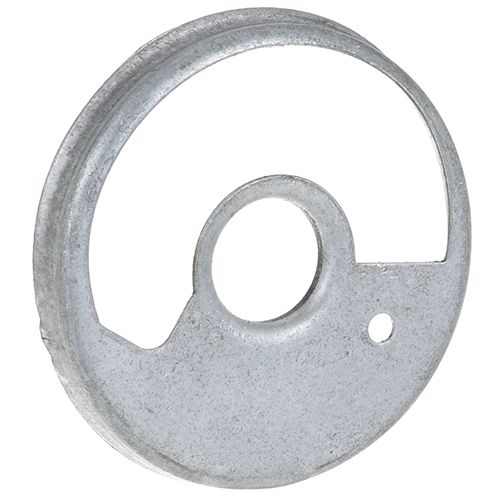
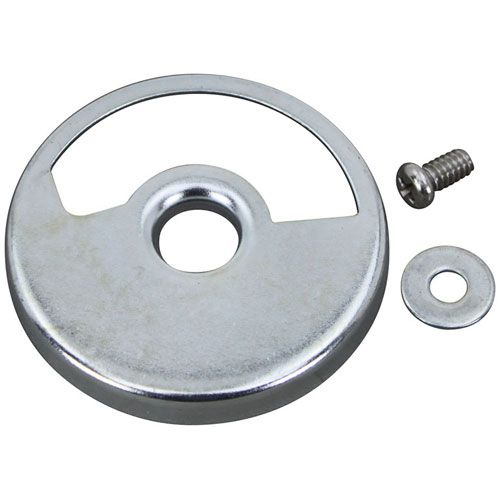
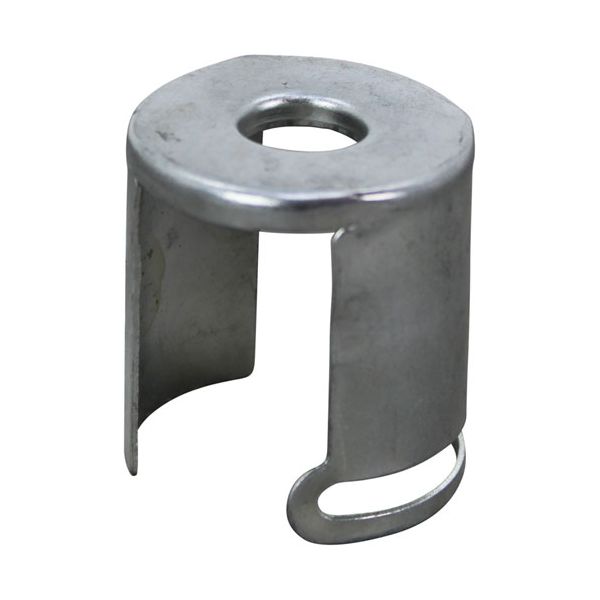
The Imperial 1037 Range Air Shutter is used to control the airflow in commercial food service equipment. It ensures that the heat is distributed evenly for even cooking. It works by closing or opening to regulate the quantity of air that gets into the oven chamber. This air shutter is fitted in the oven assembly. It is an essential part of the airflow system of the appliance that assists in maintaining the constant temperature and cooking capabilities. The shutter assists in ensuring the oven works properly.

Dimensions

  • Length: 1.5 In
  • Width: 1.5 In
  • Height: 1.5 In
  • Weight: 0.05 lbs
https://partsfe.com/media/catalog/product/i/m/imperial-1037-air-shutter-1-1-4-95047-2.jpg

Product Notes

  • Air Shutter 1-1/4" Id X 1.474" Long W/ Side Slot Only
  • For Air Shutter W/ Front & Side Slot Use # 26-1864
  • American Range
  • Imperial Grill Series: Imga, Itg.
  • Oven Series: Icvd.
  • Jade Grill Series: Jggt, Jgm, Jgt, Jsr.
  • Oven Jslb-(24,30), Jsr-36.
  • Southbend Broiler Hdc (L)
  • Wolf Oven Series: Afs, Caf, F, Fs, Kafs, Kcaf, Kf, Kfs, Xfs.
IMPERIAL:
VULCAN HART:
Write Your Own Review
You're reviewing:Imperial 1037 Range Air Shutter
Your Rating
Customer Questions
What maintenance is required for the Imperial 1037 Air Shutter?

Clean the air shutter regularly to prevent grease, dust, and carbon buildup from affecting airflow. Ensure the shutter moves freely and adjust it for proper combustion when needed. Tighten any loose fittings and inspect for rust or warping to maintain safe burner performance.

What are common issues with the Imperial 1037 Air Shutter?

  • Improper air-to-gas mixture causing weak or yellow flame.
  • Shutter sticking due to grease or carbon buildup.
  • Misalignment leading to inconsistent burner performance.
  • Rust or corrosion affecting smooth adjustment.
  • Loose mounting causing vibration and unstable airflow control.

We strive to provide our customers with a hassle-free and efficient shopping experience. Our shipping policy ensures the timely delivery of your orders and complete customer satisfaction. View More

We are committed to ensuring your complete satisfaction with every purchase. We understand that circumstances may arise where you must return a product or request a refund. If for any reason you are not satisfied, you may return the item(s) according to the terms outlined below. View More

This Payment Policy outlines the terms and conditions governing all payments made for products purchased through our website. By making a purchase, you agree to be bound by this Payment Policy. View More

Installation Steps

Step1: Turn off gas supply and allow equipment to cool.

Step2: Remove burner assembly access panel carefully using proper tools.

Step3: Align and position air shutter on burner tube and secure fasteners.

Step4: Adjust opening for proper air-to-fuel mixture per manufacturer specs.

Step5: Restore power test ignition check flame color and ensure stable operation.