Waring 004949 Base Gasket CB6

Special Price $23.52 Regular Price $24.00
Out of stock
SKU
004949
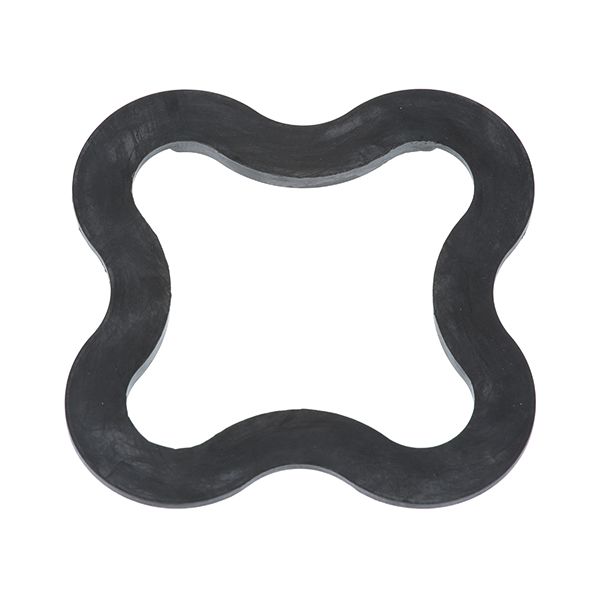
The Waring/Qualheim 004949 Base Gasket CB6 is a tight-fitting seal that is placed between the blender base and the jar to prevent leaks during use. It consists of an elastic substance that can fit around the bottom to ensure a steady connection. It is designed to fit well at the bottom of the container to align well with the bottom assembly to allow assembly and operation. It is to fit in the place of other compatible mixer models, and it slides into the place with ease and holds in position when using it without the parts coming apart.

Dimensions

  • Length: 5.75 In
  • Width: 5.75 In
  • Height: 0.125 In
  • Weight: 0.2 lbs
https://partsfe.com/media/catalog/product/w/a/waring-004949-base-gasket-5-7-8-x-5-7-8-42350-2.jpg

Product Notes

  • Base Gasket, [ 5-7/8" X 5-7/8" ] [Rubber ] [ Black ]
  • [ Mount] Diamond Shape
  • Waring
  • Blender 31Bl(67,79), 32Bl(39,99), 33Bl(10,12,13,34),
  • 34Bl(22,23), 37Bl(27,28), 38Bl(19,30), 91-215.
WARING:
4949, WAR4949
Write Your Own Review
You're reviewing:Waring 004949 Base Gasket CB6
Your Rating
Customer Questions
What maintenance is required for the Waring 004949 Base Gasket?

Regularly inspect the gasket for cracks, wear, or deformation and replace it if damaged. Clean it with mild soap and water to prevent buildup. Proper maintenance ensures a tight seal and prevents leaks. Always ensure correct placement during reinstallation for safe operation.

What are common issues with the Waring 004949 Base Gasket?

  • Cracking or splitting due to wear.
  • Loss of sealing causing leaks.
  • Warping from heat exposure.
  • Improper fit leading to instability.
  • Material degradation over time.

We strive to provide our customers with a hassle-free and efficient shopping experience. Our shipping policy ensures the timely delivery of your orders and complete customer satisfaction. View More

We are committed to ensuring your complete satisfaction with every purchase. We understand that circumstances may arise where you must return a product or request a refund. If for any reason you are not satisfied, you may return the item(s) according to the terms outlined below. View More

This Payment Policy outlines the terms and conditions governing all payments made for products purchased through our website. By making a purchase, you agree to be bound by this Payment Policy. View More

Installation Steps

Step1: Unplug equipment and remove container/base assembly for safety.

Step2: Carefully remove old gasket from base groove, clean seating area.

Step3: Align new gasket onto base, ensuring even fit around groove.

Step4: Press firmly to seat gasket securely without twisting or damage.

Step5: Reassemble unit and check seal integrity before operation.