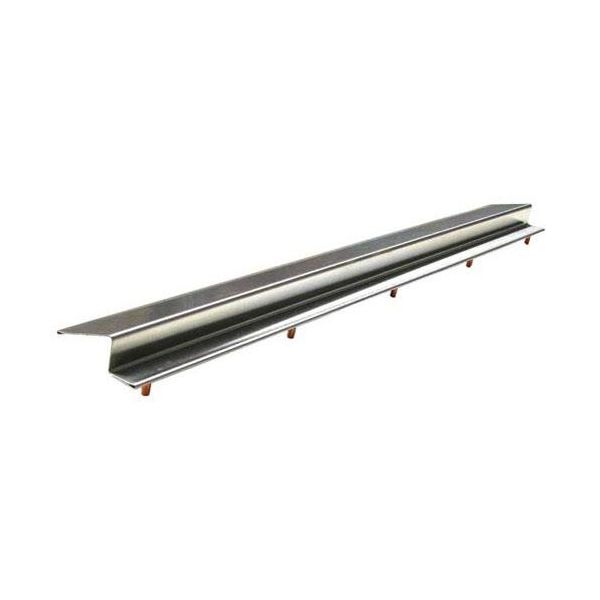
Blodgett BL17311 Oven Center Door Trim Assembly 22-1/2" x 1-3/4" x 3/4"
Special Price $59.12 Regular Price $98.20
In stock
SKU
BL17311
Manufacturer:

Blodgett BL17311 Oven Center Door Trim Assembly is an essential part to make DFG 100, 200, and Mark V ovens more functional. This trim assembly measures 22 1/2 inches in length, 1 3/4 inches in width on the fold back side and 3/4 inches wide on the stud side and offers a robust solution for a secure and tight fit of oven doors. The durability of itself ensures that it is an effective insulation that prevents heat loss so energy efficiency is extended during cooking operation. It is an easy assembly, and it means the oven keeps optimal cooking conditions to ensures a consistent food quality.
Dimensions
- Length: 22.5 In
- Width: 2.5 In
- Height: 1.25 In
- Weight: 1.02 lbs
Product Notes
- Center Door Trim
- 22-1/2" Long, 1-3/4" Width On Fold Back Side,
- 3/4" Wide On 5 Ea Stud Side
- Blodgett Dfg 100, 200, Mark V