
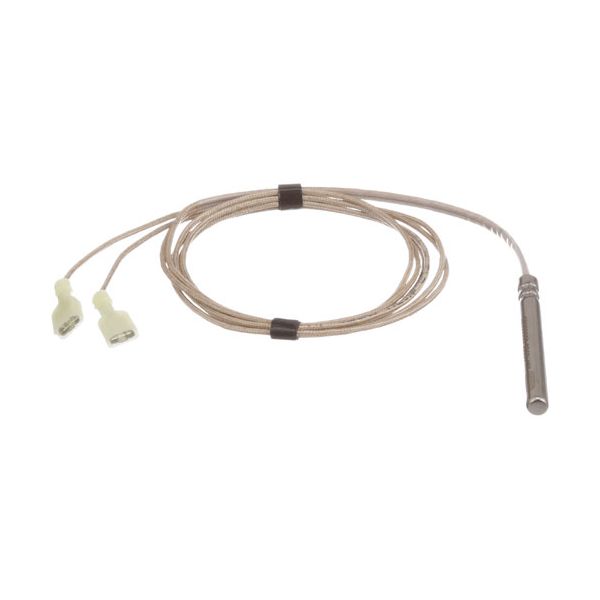
Blodgett BL18228 Temperature Probe 36" 31" Wire

Special Price $67.72 Regular Price $112.48
In stock
SKU
BL18228
Manufacturer:

Probe,Temp(2 Lead, 1K Ohms)

Dimensions

  • Length: 37 In
  • Width: 0.25 In
  • Height: 0.25 In
  • Weight: 0.1 lbs
https://partsfe.com/media/catalog/product/b/l/blodgett-bl18228-temperature-probe-36-31-wire-85933-2.jpg

Product Notes

  • Temp Probe, Overall Length = 36"
  • Approx 5" Probe, 31" Wire Leads
  • Note: Blodgett Changed Probe Length To 2-3/8". Will Work
  • Same Way As Old 5" Probe
  • Blodgett
  • Oven Kco-25E.
  • Series: Ctb & Ctbr, Dfg 50, Dfg 100, 200 & 300
  • (After 7/1/86), Mark V, Zephaire E & G With
  • Solid State Controls.
BLODGETT:
18228, 18588, BL18228, BL18588, BLBL18228
FRANKLIN CHEF:
Write Your Own Review
You're reviewing:Blodgett BL18228 Temperature Probe 36" 31" Wire
Your Rating
Customer Questions
What maintenance is required for the Blodgett BL18228 Temperature Probe?

Regularly inspect the oven probe and wire leads for damage, fraying, or buildup that may affect readings. Clean the probe surface to ensure accurate temperature sensing. Verify secure connections to the control system. Disconnect power before servicing to prevent electrical hazards.

What are common issues with the Blodgett BL18228 Temperature Probe?

  • Inaccurate temperature readings affecting oven performance.
  • Open or shorted sensor causing no signal.
  • Damaged or frayed wire leads.
  • Slow or delayed temperature response.
  • Intermittent readings due to loose connections.

We strive to provide our customers with a hassle-free and efficient shopping experience. Our shipping policy ensures the timely delivery of your orders and complete customer satisfaction. View More

We are committed to ensuring your complete satisfaction with every purchase. We understand that circumstances may arise where you must return a product or request a refund. If for any reason you are not satisfied, you may return the item(s) according to the terms outlined below. View More

This Payment Policy outlines the terms and conditions governing all payments made for products purchased through our website. By making a purchase, you agree to be bound by this Payment Policy. View More

Installation Steps

Step1: Turn off and disconnect power to appliance to prevent electrical shock.

Step2: Remove existing probe from mounting bracket or oven cavity carefully.

Step3: Route the new probe wire through original channel, avoiding sharp edges.

Step4: Secure probe tip in correct sensing position and fasten with bracket or clips.

Step5: Reconnect wiring terminals ensuring tight, correct polarity if applicable.

Step6: Restore power and test temperature response for accuracy.