
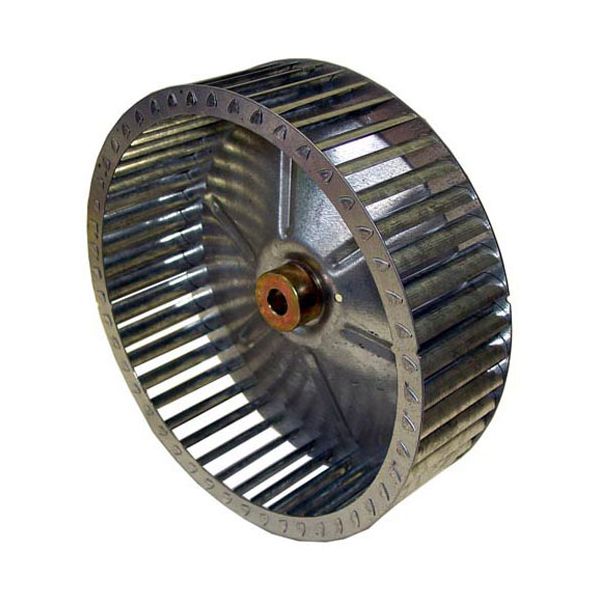
Garland 1613901 Oven Blower Wheel CW 10-3/4"D X 3-1/8"W 5/8"
Special Price $203.56 Regular Price $271.95
In stock
SKU
1613901
Manufacturer:

The Garland 1613901 Oven Blower Wheel Cw 10-3/4"D X 3-1/8"W 5/8" is made to rotate clockwise to push air into the system and circulate it through internal passages to the controlled movement of air during operation. The curvature of the wheel moves the air evenly as it spins to ensure that the heating chamber moves the air in the same direction. Constructed with a certain diameter and width, it fits into compatible assemblies of the oven. The wheel provides adequate air flow necessary for the regulation of temperature and the general operation of cooking cycles.
Dimensions
- Length: 10.75 In
- Width: 3.13 In
- Height: 3.13 In
- Weight: 2.9 lbs
Product Notes
- Blower Wheel,
- [ 10-3/4"Dia ] X [3-1/8"W] 5/8" Hole,
- Concave Back, Ccw Rotation , Looking From Back Of Wheel.
- Smooth Hub, 1 Set Screw.
- Garland Calls This Ccw, No Puller Hub, 1 Set Screw.
- 1613900 Blower Wheel Cw Rotation
- 1613901 Blower Wheel Ccw Rotation
- Garland
- Oven E56Pb, G56-Pb