
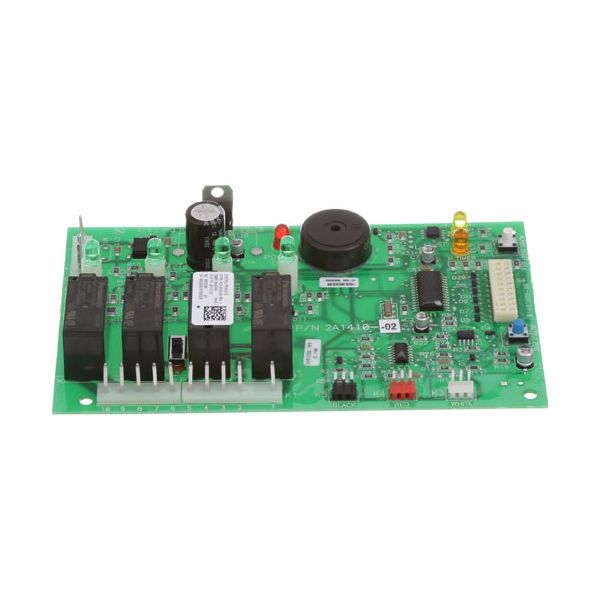
Hoshizaki 2A1410-02 Ice Machine Control Board
Special Price $675.41 Regular Price $685.00
In stock
SKU
2A1410-02
Manufacturer:

The Hoshizaki 2A1410-02 Ice Machine Control Board takes the input of the sensors, switches and timers to coordinate the main machine of water fill, freeze cycles, harvest sequences, and the status indicators during the ice production. It works by taking signals and then transmitting outputs to the parts like pumps, valves, compressors, and indicators to regulate the ice-making process. This board is mounted in the internal control compartment of the ice machine, which is behind the exterior panel and is linked to wiring harnesses and other electronics to regulate operation in compatible models.
Dimensions
- Length: 7.8 In
- Width: 4.2 In
- Height: 2.3 In
- Weight: 0.5 lbs
Product Notes
- Control Board
- Hoshizaki
- Ice Machine All Cubers Except Old Models Ending In 02.
- Ice Machine Series: Km-250, Km-450, Km-452, Km-500Mae,
- Km-630, Km-632, Km-800, Km-1200, Km-1300, Km-1600