Waring 027174 Toaster Control Knob

$7.96
In stock
SKU
027174
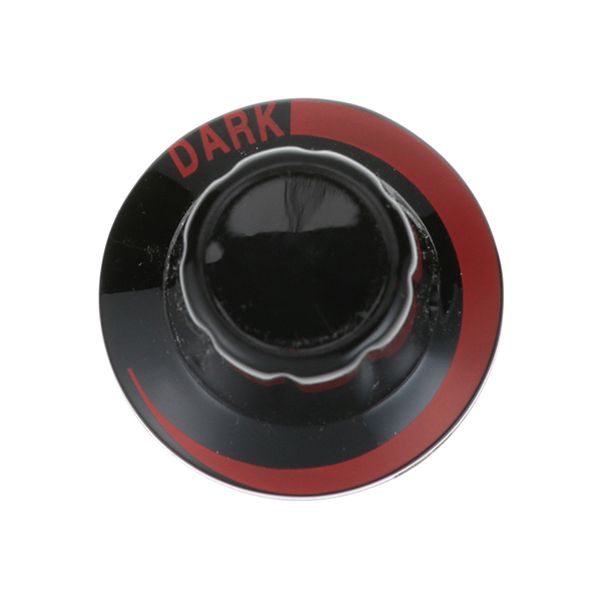
The Waring/Qualheim 027174 Control Knob enables users to adjust the amount of browning and control the amount of heating in any compatible commercial toaster. It has an attached control shaft on the front panel, which turns to adjust internal timer or temperature settings which directly affect the toasting cycle. The knob provides a safe handle to precisely choose the desired settings during use. This part is typically used in commercial kitchens to reclaim the manual control of the appliance and to maintain a consistent toasting manner.

Dimensions

  • Length: 1.5 In
  • Width: 1.5 In
  • Height: 1 In
  • Weight: 0.1 lbs
https://partsfe.com/media/catalog/product/w/a/waring-027174-browning-control-knob-91896-2.jpg

Product Notes

  • Browning Control Knob,
  • 1-3/8" Dia, .180" D Stem Hole, Word "Dark" On Face,
  • Waring Toaster Wct800Rc, Wct805, Wct810, Wct815
WARING:
027174, 27174, WAR027174, WAR27174
Write Your Own Review
You're reviewing:Waring 027174 Toaster Control Knob
Your Rating
Customer Questions
What is the Best Electric Griddle?

Electric Griddle is an electronic equipment that uses an electric element as its heat source. It has a large cooking surface often made up of nonstick material. Electric Griddle has a surface which you do not find in the regular stovetop cookware. ...

What maintenance is required for the Waring 027174 Browning Control Knob?

Keep the knob clean from grease and food residue to ensure smooth rotation and accurate control. Inspect for cracking or loosening on the shaft. Ensure proper alignment with the control stem to maintain consistent heat adjustment and accurate operation.

What are common issues with the 027174 Waring Browning Control Knob?

  • knob slipping or not gripping shaft.
  • cracked or broken plastic housing.
  • difficulty adjusting temperature settings.
  • misalignment with control mechanism.
  • wear causing loose or unstable fit.

We strive to provide our customers with a hassle-free and efficient shopping experience. Our shipping policy ensures the timely delivery of your orders and complete customer satisfaction. View More

We are committed to ensuring your complete satisfaction with every purchase. We understand that circumstances may arise where you must return a product or request a refund. If for any reason you are not satisfied, you may return the item(s) according to the terms outlined below. View More

This Payment Policy outlines the terms and conditions governing all payments made for products purchased through our website. By making a purchase, you agree to be bound by this Payment Policy. View More

Installation Steps

Step1: Unplug the appliance to ensure safety.

Step2: Locate and remove the damaged or old knob.

Step3: Align the new knob with the control shaft.

Step4: Gently push the knob onto the shaft until secure.

Step5: Ensure it fits snugly without wobbling.

Step6: Rotate the knob to check smooth operation.

Step7: Plug the unit back in and test functionality.