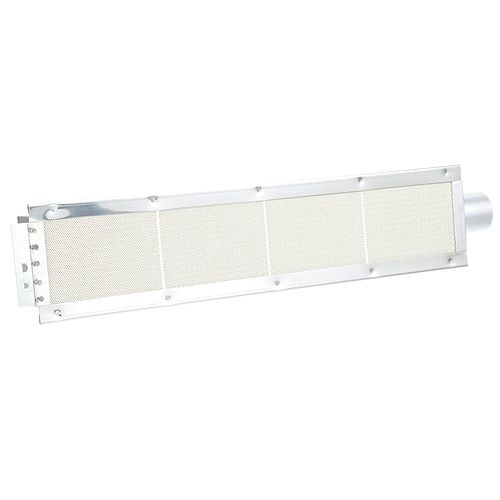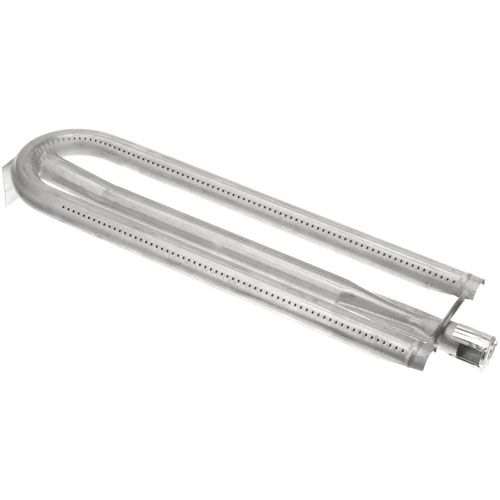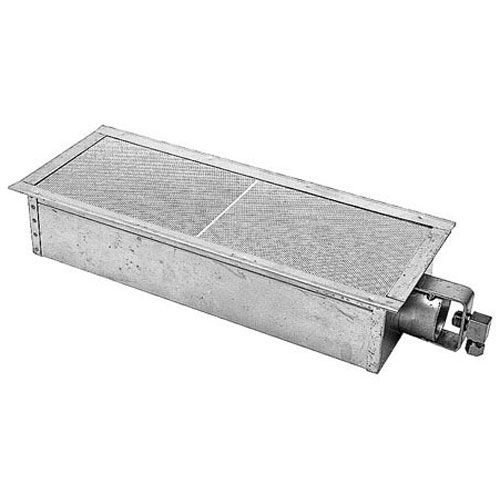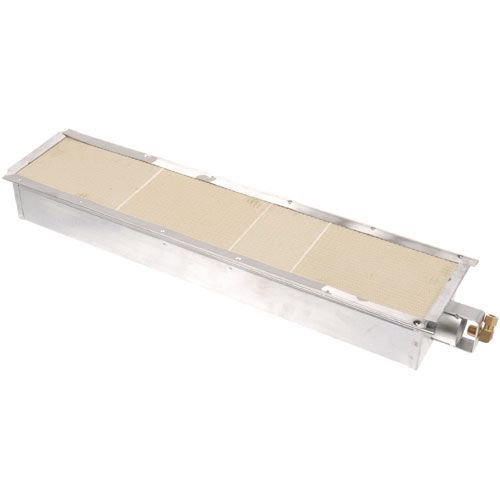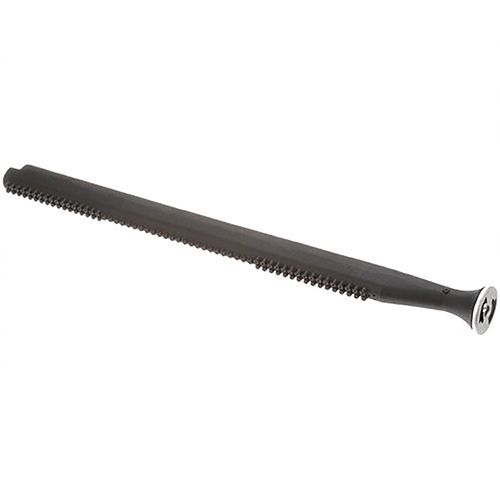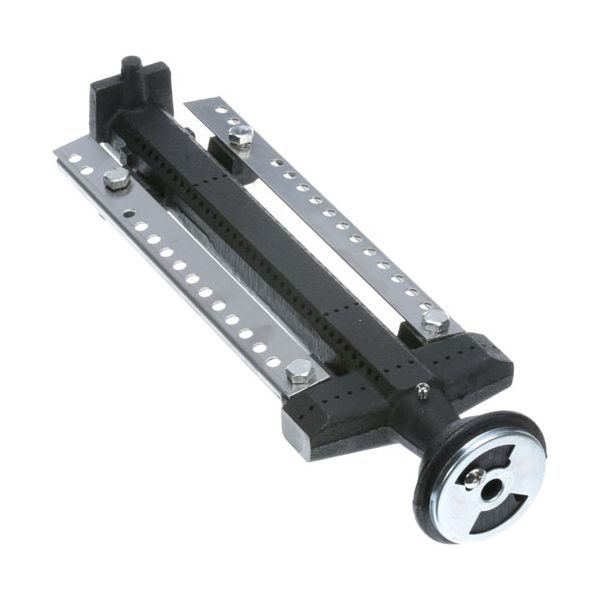
Vulcan Hart 00-712001-0000A Salamander Broiler Burner Assembly CGA
Dimensions
- Weight: 5.88 lbs
Combustion Process:
Distributes gas through the burner ports for controlled ignition and combustion. The burner surface allows the fuel-air mixture to produce a stable flame across the assembly, generating the heat required for overhead cooking. Consistent combustion helps maintain uniform thermal exposure and predictable cooking performance.
Flame Distribution:
Distributes gas across the burner openings to establish an even flame pattern. Properly functioning ports help maintain consistent heat coverage, while blocked or damaged openings can affect flame uniformity and thermal output.
Replacement Guidelines:
Replacement of the Salamander Broiler Burner Assembly if it is cracked, damaged, deformed, corroded, burned, or no longer produces the required heat output. The part number 00-712001-0000A, 13-3/8" × 4-3/8" dimensions, and CGA configuration should be verified before replacement to ensure the correct burner assembly is selected.
Common Failure Symptoms:
Equipment Compatibility:
The Vulcan Hart 00-712001-0000A Burner Assembly is intended for equipment applications requiring this specific burner configuration. Confirm the equipment model, part number, and CGA specification before purchase.
Technical Specifications:
Brand: Vulcan Hart
Part Number: 00-712001-0000A
Product Name: Burner Assembly
Appliance Type: Commercial Salamander Broiler
We strive to provide our customers with a hassle-free and efficient shopping experience. Our shipping policy ensures the timely delivery of your orders and complete customer satisfaction. View More
We are committed to ensuring your complete satisfaction with every purchase. We understand that circumstances may arise where you must return a product or request a refund. If for any reason you are not satisfied, you may return the item(s) according to the terms outlined below. View More
This Payment Policy outlines the terms and conditions governing all payments made for products purchased through our website. By making a purchase, you agree to be bound by this Payment Policy. View More
Step1: Turn off all gas and power supplies before starting installation.
Step2: Remove the old burner and shields from the appliance.
Step3: Align the new cast iron burner with the mounting slots.
Step4: Secure the burner using the existing fasteners.
Step5: Attach the shields and adjust the air shutter for proper flame.
Step6: Test for leaks and ensure even flame distribution before full use.
Step7: Wear gloves to avoid injury from sharp edges.