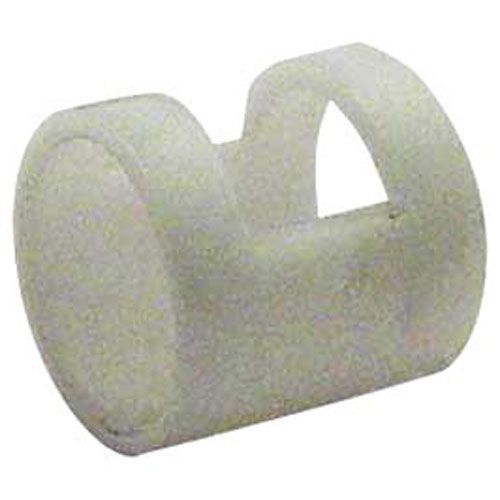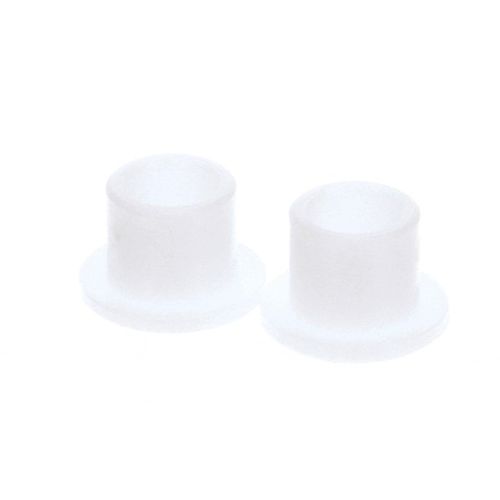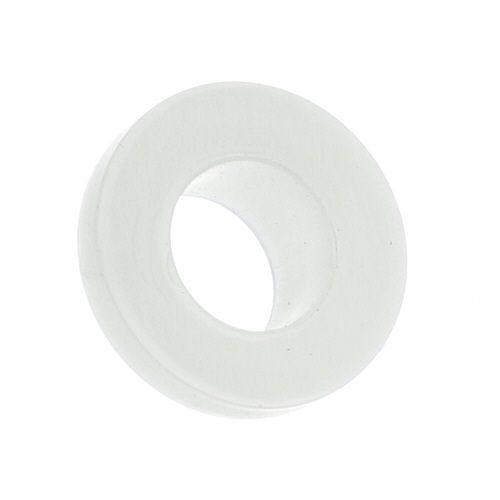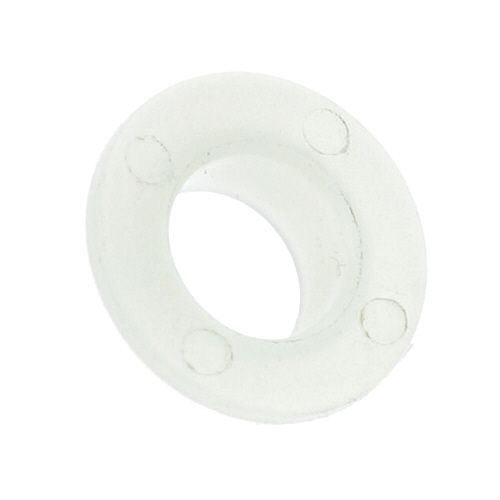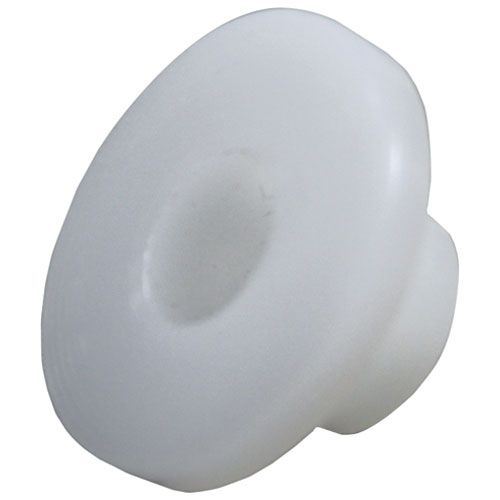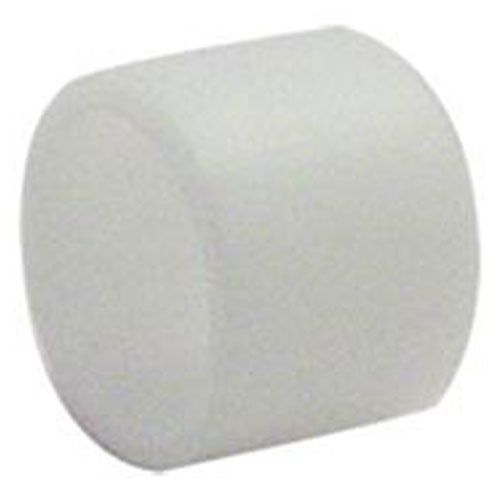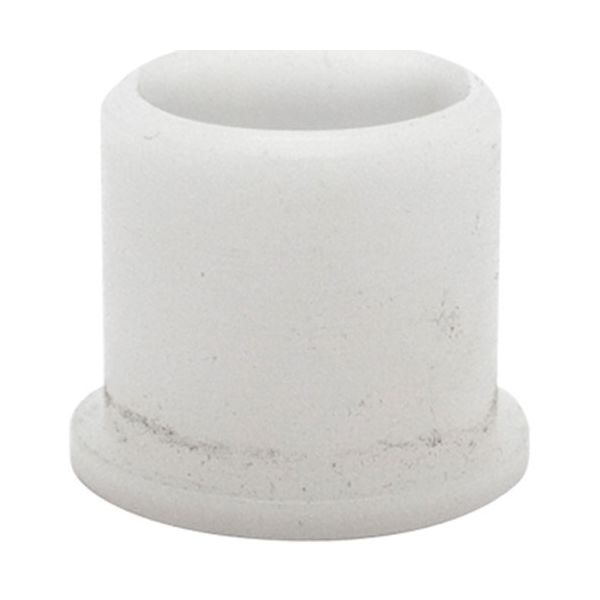
Nemco 55419 Peeler Bushing 1/2"
$4.24
In stock
SKU
55419
Manufacturer:

The Nemco 55419 Peeler Bushing 1/2" is used to fit on compatible peelers to cut the depth and size of slices by following the surface of a fruit or vegetable with the blade. It snaps into position and maintains steady contact with the peeled item, and moves freely. It can be clamped directly on the blade assembly of the peeler, so that it is between the blade and the handle to install it correctly. The component will fit perfectly with the pre-existing kitchen equipment.
Dimensions
- Weight: 0.25 lbs