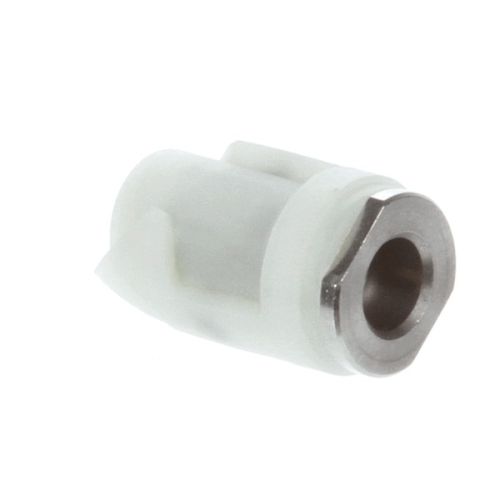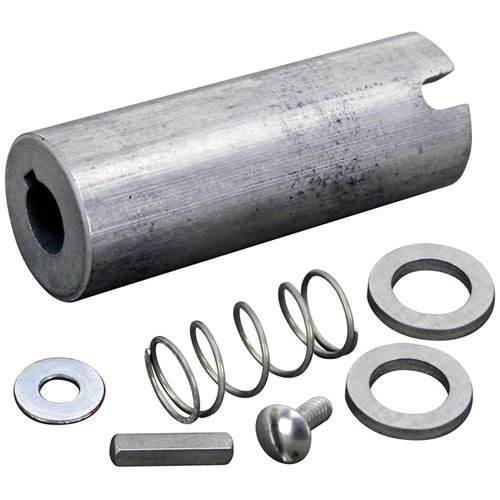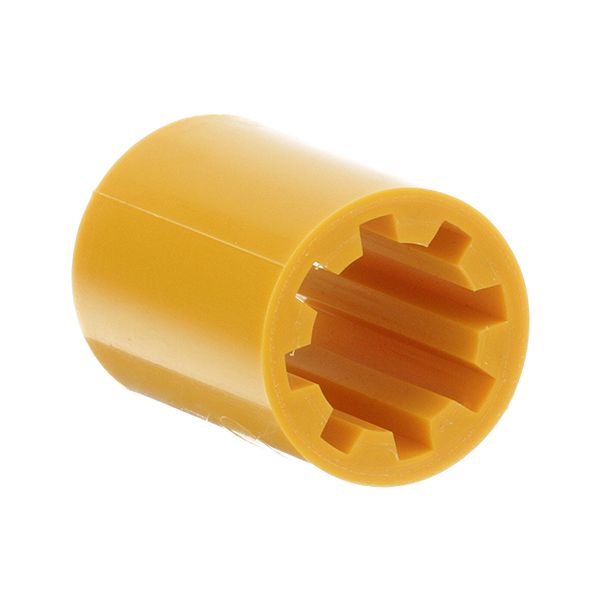
Lincoln 369664 Oven Drive Coupling Sleeve 1-1/8" DIA X 1-1/2" L
Special Price $64.64 Regular Price $83.95
In stock
SKU
369664
Manufacturer:

The Lincoln 369664 Drive Coupling Sleeve is a connecting element that conveys the rotational movement of the motor of the oven to the driving mechanism to maintain the coordinated movement in the system. It operates on the concept of providing a firm connection between the motor shaft, and the drive assembly so that the transfer of motion is consistent throughout the operation cycle of the oven. This sleeve is placed in the internal drive system of the oven which is usually between the motor, and the rotating components where it aids in the smooth flow of mechanical power which is necessary to ensure the correct operation of the oven.
Dimensions
- Length: 1.5 In
- Width: 1.25 In
- Height: 1.25 In
- Weight: 0.3 lbs
Product Notes
- Yellow Drive Coupling Sleeve,
- 1-1/8" Dia X 1-1/2" Long, 8 Cpgs,
- For Drive Coupling # 26-2809
- Lincoln Oven Series 1100A