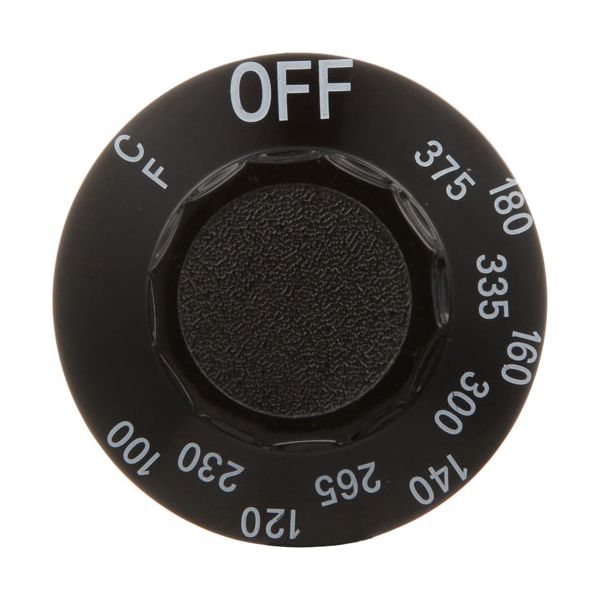
Frymaster 8160139 Fryer Thermostat Knob 2-1/4" DIA OFF-375°F-230°F
Special Price $18.32 Regular Price $22.90
In stock
SKU
8160139
Manufacturer:

The Frymaster 8160139 Fryer Thermostat Knob 2-1/4" DIA OFF-375°F to 230°F is a hand-operated control interface product that fits on compatible commercial appliances to adjust and set cooking temperature. The knob is attached to the thermostat shaft of the fryer and enables the operator to turn between a temperature range during normal operation. It is placed on the control panel of the fry station to provide a clear method of choosing the required oil temperature to be used in the frying cycles.
Dimensions
- Length: 2.25 In
- Width: 2.25 In
- Height: 0.75 In
- Weight: 0.1 lbs
Product Notes
- T'Stat Knob, [ 2-1/4" Dia ] [ Off-375-230]
- [Mount .187" Flat Down],
- Frymaster Fryer Gf14, Gf14-Sd, Gf40