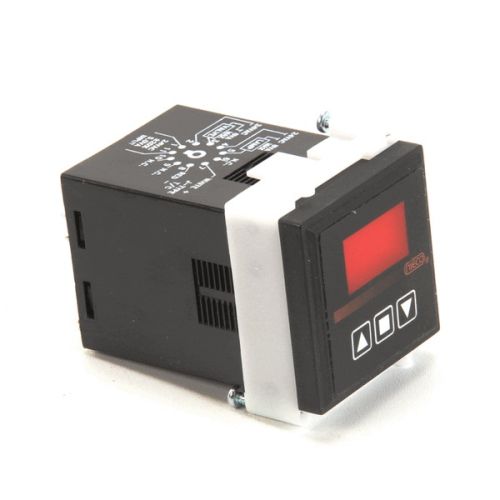
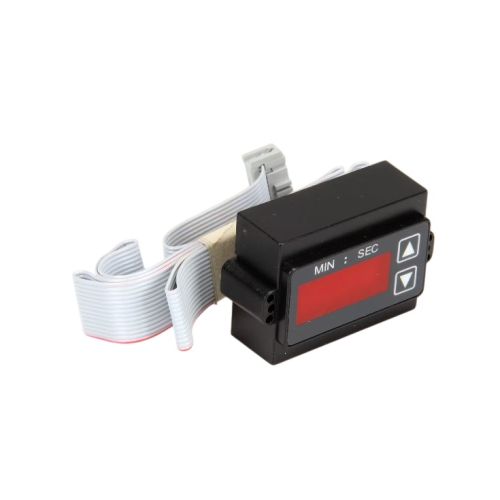
Pitco 60158301 Digital Timer Control Ogard
Special Price $1,191.41 Regular Price $1,493.00
In stock
SKU
60158301
Manufacturer:

The Pitco 60158301 Digital Timer Control works by controlling cooking or working cycles by means of accurate time management. It operates by taking the user input and timing the sending signals to turn on or turn off equipment components connected to it. The timer control is fitted in compatible appliances, which are usually mounted on the front control panel, where they are easily accessible. It helps in the proper timing of the processes and synchronization with heating or mechanical systems and allows the processes to be consistent during fry or cook cycles.
Dimensions
- Length: 7 In
- Width: 4.5 In
- Height: 2 In
- Weight: 0.63 lbs