Bakers Pride S3010X Oven Door Rod 9/16" OD X 8" W/Bolts 9/16"-18 THD Nut

Special Price $66.08 Regular Price $160.00
Out of stock
SKU
S3010X
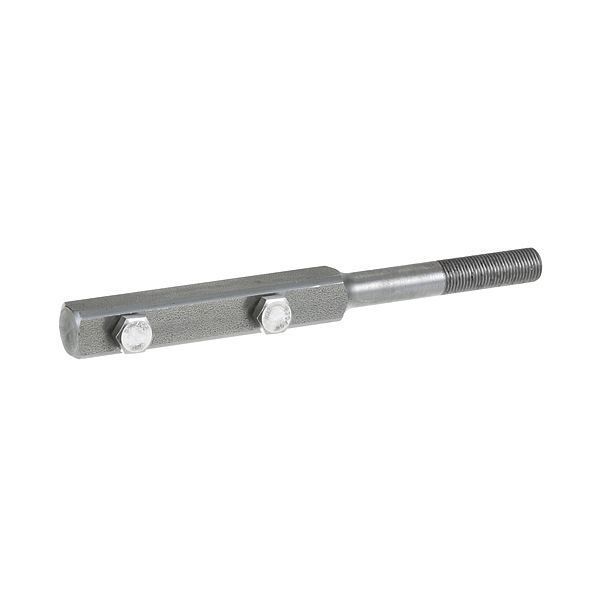
The Bakers Pride S3010X Oven Door Rod 9/16" OD X 8" is used as a structural support component which delivers movement to the door handle mechanism to the hinge assembly. It interacts with connecting hardware to helps in keeping the door in a proper position when opening and closing is in motion. This rod is placed inside the oven door structure, connecting internal mechanical components to ensure that there is coordinated movement and that the door fits properly.

Dimensions

  • Length: 8 In
  • Width: 1.5 In
  • Height: 8 In
  • Weight: 1.1 lbs
https://partsfe.com/media/catalog/product/b/a/bakers-pride-s3010x-oven-door-rod-9-16-od-x-8-w-bolts-9-16-18-thd-nut-86036.jpg

Product Notes

  • Old Style Door Rod 9/16" Od X 8" W/Bolts, 9/16"-18 Thd Nut
  • New Style Is 3/4" Od
  • Bakes Pride Oven 101, 151, 201, 251, 301, 401, 451
BAKERS PRIDE:
Write Your Own Review
You're reviewing:Bakers Pride S3010X Oven Door Rod 9/16" OD X 8" W/Bolts 9/16"-18 THD Nut
Your Rating
Customer Questions
What maintenance is required for the Bakers Pride S3010X Door Rod?

Inspect the oven door rod regularly for loosening bolts and corrosion buildup. Clean with mild degreaser to prevent grease accumulation affecting alignment. Tighten hardware securely and ensure smooth door movement to avoid strain on hinges and frame.

What are common issues with the Bakers Pride S3010X Door Rod?

  • Loose mounting bolts causing door misalignment and uneven sealing.
  • Rod bending or warping under heavy use causing door stress.
  • Corrosion or rust from moisture exposure leading to stiffness.
  • Difficulty in smooth door opening or closing due to resistance.

We strive to provide our customers with a hassle-free and efficient shopping experience. Our shipping policy ensures the timely delivery of your orders and complete customer satisfaction. View More

We are committed to ensuring your complete satisfaction with every purchase. We understand that circumstances may arise where you must return a product or request a refund. If for any reason you are not satisfied, you may return the item(s) according to the terms outlined below. View More

This Payment Policy outlines the terms and conditions governing all payments made for products purchased through our website. By making a purchase, you agree to be bound by this Payment Policy. View More

Installation Steps

Step1: Switch off oven, disconnect power, and ensure it is completely cool.

Step2: Remove the existing oven door rod and carefully loosen mounting bolts without damaging surrounding hardware.

Step3: Align the new rod with door brackets, ensuring proper fit and orientation.

Step4: Insert nut bolts and tighten securely to manufacturer specifications using proper tools.

Step5: Check door movement, verify alignment, and ensure all fasteners are fully secured before restoring power.