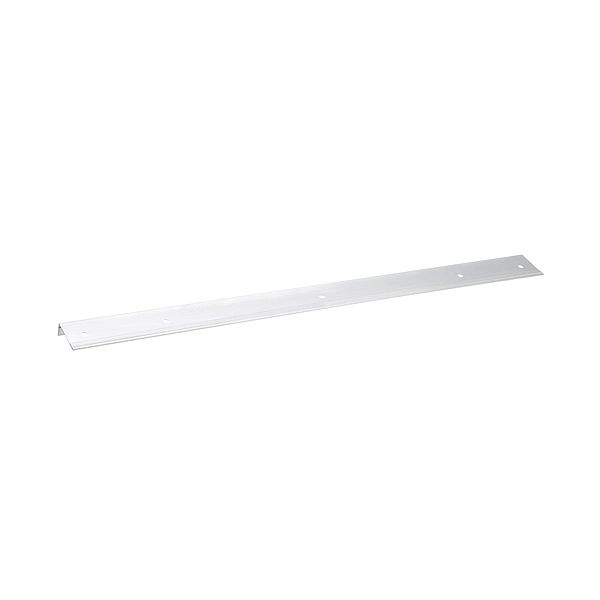
Garland 1924411 Convection Oven Center Right Door Seal 25"
Special Price $67.72 Regular Price $143.47
Out of stock
SKU
1924411
Manufacturer:

The Garland 1924411 Convection Oven Center Right Door Seal 25" provides a firm, secure seal to keep the better cooking temperatures and efficiency. This seal that fits the center right door and helps to avoid heat loss minimize the use of energy, and ensure even cooking outcomes. It is 25 inches in size and is constructed of heat-resistant materials that can work under the conditions of intensive use in the kitchen. It prevents moisture loss improves food quality and enhances oven performance, hence it is a necessary replacement part to ensure consistent performance.
Dimensions
- Length: 25 In
- Width: 2.5 In
- Height: 1 In
- Weight: 0.64 lbs
Product Notes
- Door Seal Center Right
- 25" Long
- Garland Oven: Mco-Es-10-S, Mco-Es-10A, Mco-Es-Ed-10,
- Mco-Gs-10Arby, Mco-Gs-20Arby, Mco-Gs/Gd-10