
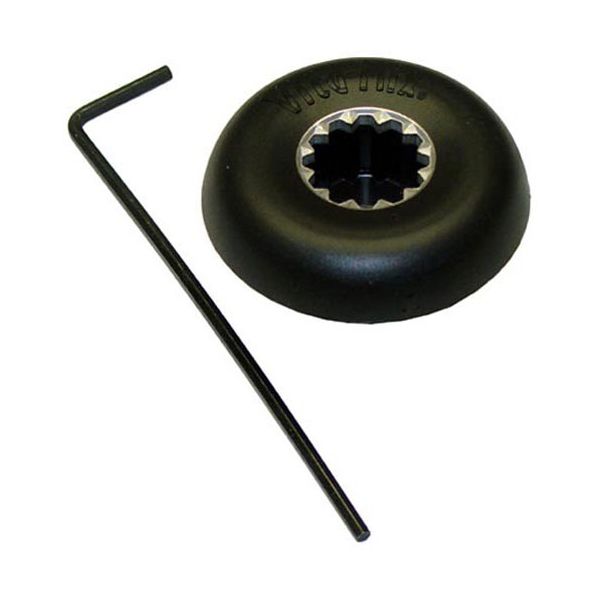
Vita-Mix 891 Drive Socket Kit 12-Pin 1-3/4" OD
$18.10
In stock
SKU
891
Manufacturer:

The Vita-Mix 891 Drive Socket Kit is an accurately designed component that allow the secure connection between the motor to the blade assembly so that enabling smooth transfer of sufficient power from the motor to the blades. This drive socket has a tough, 12-pin ring construction and a 1-3/4 inch outside diameter which give it better gripping strength to ensure there is minimum slippage during fast blending. The attached set screw provides a tight accurate fit which increases performance and Stability.
Dimensions
- Length: 7 In
- Width: 4.5 In
- Height: 7 In
- Weight: 5.579 lbs
Product Notes
- Drive Socket,
- 1-3/4" Od, 1/4" Sq Hole In Bottom With Set Screw, 12 Pin
- Spline On Top, Comes With Allen Wrench' Replaces 802.
- Vita-Mix Blender