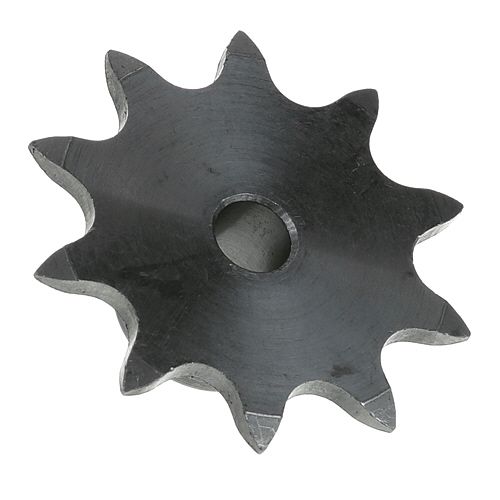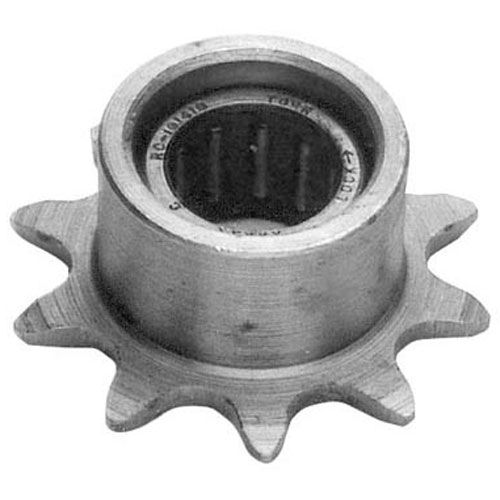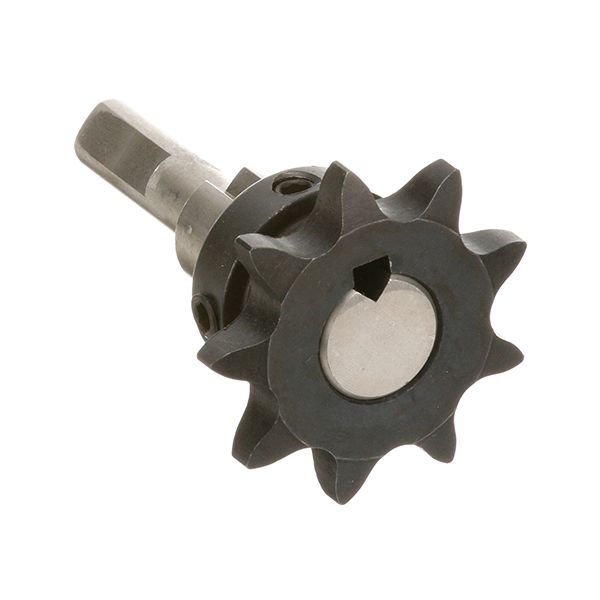
Middleby Marshall 42400-0309 Oven 9-Tooth Sprocket W/ Shaft & Flat 2-11/16" X 3/8"
Special Price $68.98 Regular Price $124.38
In stock
SKU
42400-0309
Manufacturer:

The Middleby Marshall 42400-0309 Oven Drive Sprocket Shaft Flat 9-Tooth 2-11/16" x 3/8" works by converting rotary movement in the motor to the conveyor system of the oven. It operates by its toothy structure which interacts with the conveyor chain to ensure cohesive and consistent motion throughout the operation. This shaft is located in the drive assembly of the oven which is attached to the motor and conveyor parts and it makes sure that there is a proper fit and the mechanical performance is consistent throughout the cooking process.
Dimensions
- Length: 3 In
- Width: 2.5 In
- Height: 3 In
- Weight: 0.4 lbs
Product Notes
- 9 Tooth Sprocket With Shaft,
- 2-11/16" X 3/8" Shaft With Flat.
- The Shaft For This Part Is A3572, # 26-2675
- Middleby Marshall
- Oven Ps200-R68, Ps220Fs-R68, Ps224-R68, Ps310, Ps360,
- Ps360Wb70, Ps570 Single Belt