Garland 2200707 Electrode Nut 1/4" ID x 1/8 MPT

Special Price $10.18 Regular Price $12.72
In stock
SKU
2200707
Manufacturer:
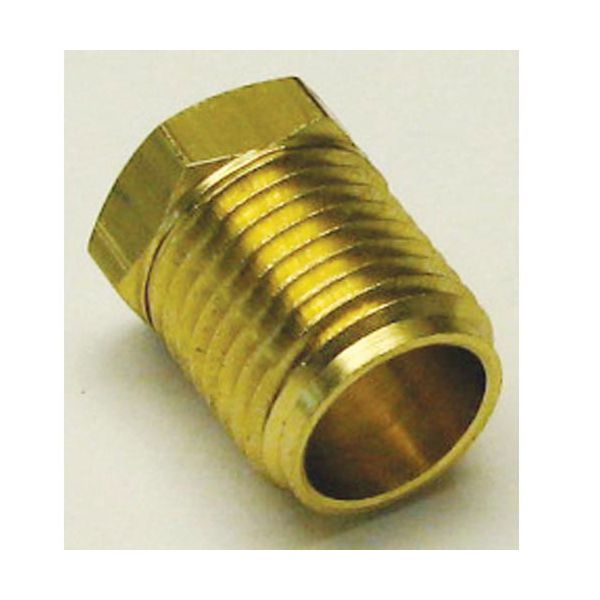
The Garland 2200707 Electrode Nut 1/4" ID x 1/8 MPT is a threaded fastener which is used to hold an electrode assembly by clamping it in place and providing a fixed location of connection in the ignition system. The nut fits on the mating fitting when it is installed and it fits the electrode in a manner that it is held in place to allow it to align the spark gap accordingly. This nut is used in the electrode mounting point of compatible cooking or the heating equipment where the ignition component is mounted.

Dimensions

  • Length: 0.563 In
  • Width: 0.5 In
  • Height: 0.5 In
  • Weight: 0.01 lbs
https://partsfe.com/media/catalog/product/g/a/garland-2200707-1-4-id-x-1-8-mpt-electrode-nut-97276-2.jpg

Product Notes

  • Electrode Nut Only For Electrode # 44-1034
  • Used On Pilot # 51-1286
  • 1/4" Id X 1/8 Mpt
  • Garland Oven Model Gd304, S280, S288, St280, St280E, St288,
  • St284, Stw286,
Write Your Own Review
You're reviewing:Garland 2200707 Electrode Nut 1/4" ID x 1/8 MPT
Your Rating
Customer Questions
What maintenance is required for the Garland 2200707 Electrode Nut?

Inspect the electrode nut regularly for corrosion, carbon buildup, or loose threading. Clean contacts with a non-abrasive brush and ensure tight fitting. Proper maintenance ensures accurate ignition performance and prevents operational failures during use.

What are common issues with the Garland 2200707 Electrode Nut?

  • Loose threading causing poor electrode connection issues and reliability.
  • Corrosion or oxidation reducing electrical conductivity and performance over time.
  • Carbon buildup interfering with ignition performance efficiency and sparking.
  • Misalignment leading to inconsistent spark generation issues and consistency.

We strive to provide our customers with a hassle-free and efficient shopping experience. Our shipping policy ensures the timely delivery of your orders and complete customer satisfaction. View More

We are committed to ensuring your complete satisfaction with every purchase. We understand that circumstances may arise where you must return a product or request a refund. If for any reason you are not satisfied, you may return the item(s) according to the terms outlined below. View More

This Payment Policy outlines the terms and conditions governing all payments made for products purchased through our website. By making a purchase, you agree to be bound by this Payment Policy. View More

Installation Steps

Step1: Turn off the gas supply and disconnect power to the appliance before servicing.

Step2: Access the pilot or ignition assembly and carefully remove the damaged electrode nut.

Step3: Inspect the electrode and pilot tubing for wear, corrosion, or misalignment before reassembly.

Step4: Thread the new electrode nut onto the electrode fitting by hand to prevent cross-threading.

Step5: Tighten securely with the correct wrench without overtightening the fitting.

Step6: Restore gas and power, then test ignition operation and confirm stable pilot performance.