
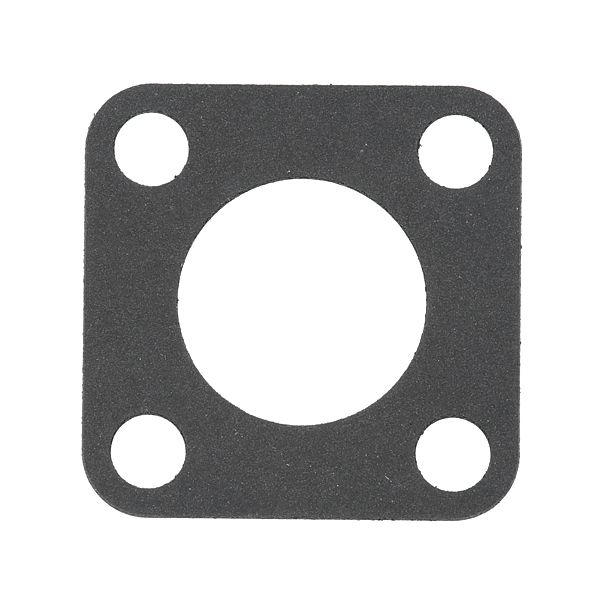
Hatco 02.11.012.00 Flange Gasket 2.75" X 2.75"
$4.80
In stock
SKU
02.11.012.00
Manufacturer:

The Hatco 02.11.012.00 Flange Gasket 2.75" X 2.75" is a sealing part that is used to reduce leakage at the joints in commercial foodservice machines. It is placed between mating surfaces and forms a close barrier that traps heat, moisture or fluids when in normal operation. This gasket is mostly applied in holding cabinets, warmers or other heating assemblies in which controlled sealing is necessary. In the appliance, it aids in ensuring that the joined parts are aligned properly and that internal settings and external surfaces are separated. The gasket assists in ensuring that the system operates safely.
Dimensions
- Length: 2.75 In
- Width: 2.75 In
- Height: 0.125 In
- Weight: 0.1 lbs
Product Notes
- 2-1/2" Square Flange Gasket, Fiber,
- [ 2.685" X 2.685" ] [Fibre ] [ Type C] [ ] Green ] [
- Profile ] [ Mount] 1.75" Mount Hole Ctrs.
- Garland Boilers
- Hatco Booster Elements