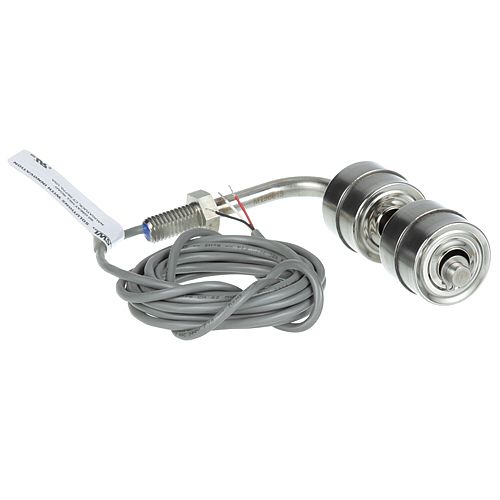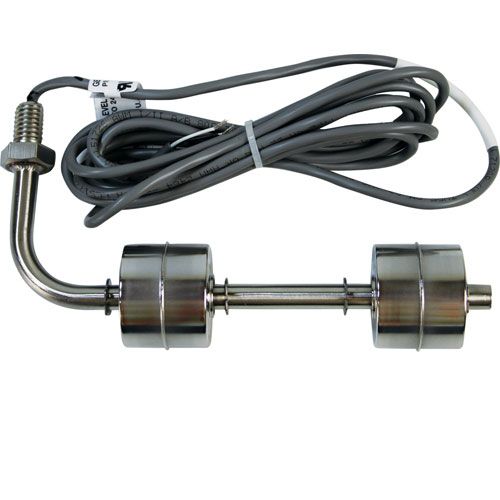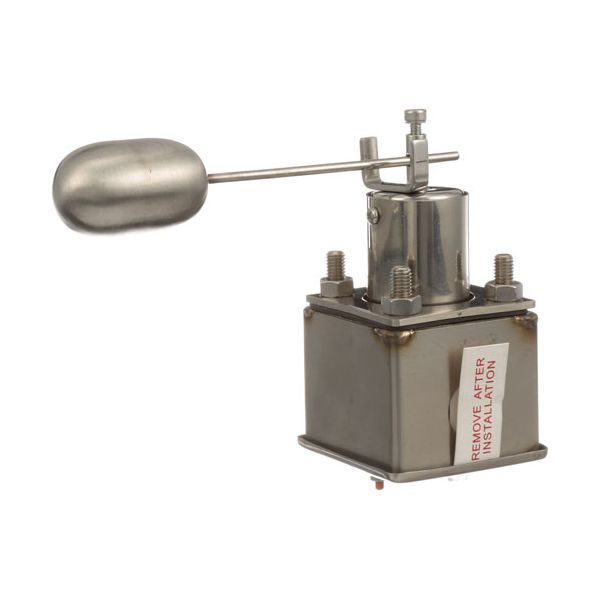
Stero C101005 Float Switch Assembly
Special Price $538.32 Regular Price $1,079.23
In stock
SKU
C101005
Manufacturer:

The Stero C101005 Float Switch Assembly is used to check the level of liquid by using a buoyant float that is connected to an internal switch. The liquid rises or falls and as it does so that float moves and activates the switch to open or close an electrical circuit. It is normally fitted in a tank, reservoir or sump at a predetermined height to suit the level point required. The assembly is attached to control wiring to indicate pumps, alarms or valves. It reacts to the liquid position movement instead of pressure or flow.
Dimensions
- Length: 5.25 In
- Width: 7 In
- Height: 4 In
- Weight: 1.7 lbs
Product Notes
- [ Float Switch ] [ On/Off ], 120/240V, 5 Amp
- Used With Micro Switch # 42-1212
- Stero Dishwasher Sc-1 Thru Sc-9, Sd2Ra, Sdra,
- Sdra-Pkg, Stbuw, Stpc, Stpcw, Stw, Systematic, Utensil.