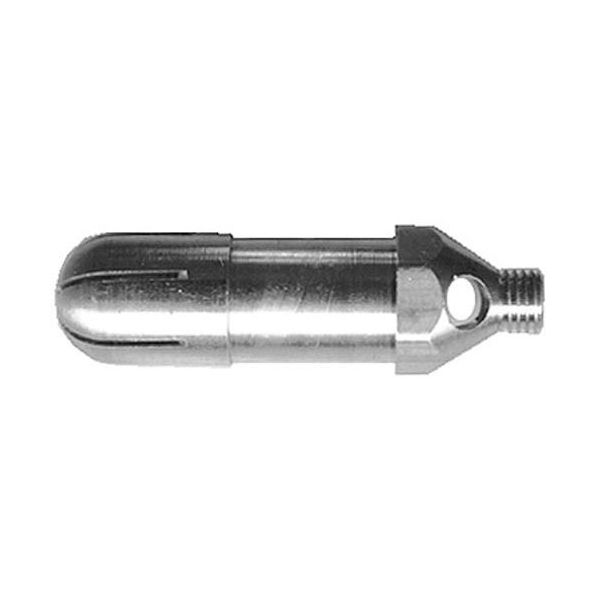
Duke 213533 Gas Burner W/Cap Brass 77 Orifice 2-3/8" 1/16" MPT 6 Slot 4 Air Holes 3/4" DIA
Special Price $34.59 Regular Price $63.56
In stock
SKU
213533
Manufacturer:

The Duke 213533 burner is a long lasting 3/4” diameter brass burner that is suitable for use with LP gas systems. With a #77 orifice and a 6 slot cap with 4 air holes, this burner produces better flame for various cooking purposes. It has a length of 2-3/8 inches and comes with a 1/16 inch MPT fitting for any configuration. With a BTU of 2500, it efficiency in the home, offices, shops, restaurant and more. Suitable for cooking appliances, the gas burner is easy to install and provides long-term use.
Dimensions
- Length: 2.625 In
- Width: 0.625 In
- Height: 0.625 In
- Weight: 0.2 lbs
Product Notes
- Brass Burner
- [ 1/16" Mpt ] Brass 3/4" Dia [ Orifice - #77 ] Lp,
- 6 Slot Cap~
- 4 Air Holes, 2-3/8" Long, 2500 Btu
- Cap Only # 26-1797
- Duke