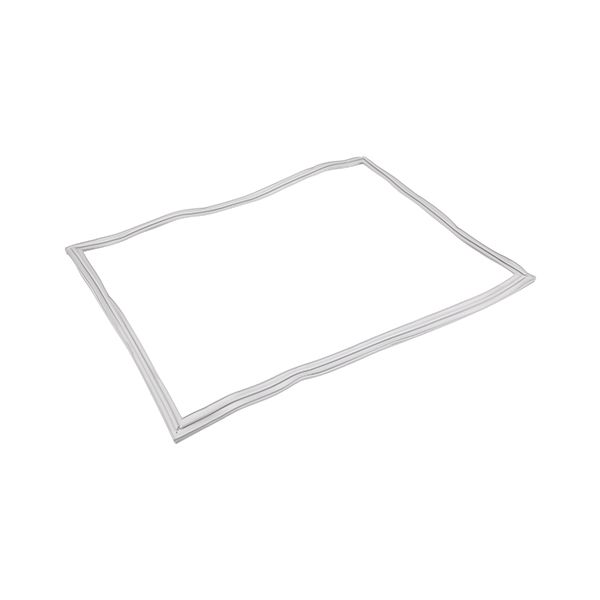
Traulsen SVC-60060-00 Refrigerator 4 Sided Magnetic Door Gasket 22-5/8" X 29-1/2"
Special Price $106.94 Regular Price $201.40
Out of stock
SKU
SVC-60060-00
Manufacturer:

The Traulsen SVC-60060-00 Refrigerator Magnetic Door Gasket is designed to produce a close magnetic seal of the door opening to preserve interior temperature control. It creates a closed system when the door is closed and restricts air flow and helps to maintain constant conditions in the cabinets. This gasket is attached to the frame of the door in a groove that is made to receive the sealing material in refrigeration units.
Dimensions
- Length: 23 In
- Width: 3 In
- Height: 2 In
- Weight: 2.4 lbs
Product Notes
- 4 Sided Magnetic Gasket
- 22-5/8" X 29-1/2" Grey
- Magnet Outside Edge
- Magnet 11/16", Base 1-1/16", 11/16" High, W/ Dart Snap-In
- Traulsen G100, G110, G12000, G120Xx, G200, G210, G22013,
- G220Xx, G300, G310Xx, G313Xx, G320,