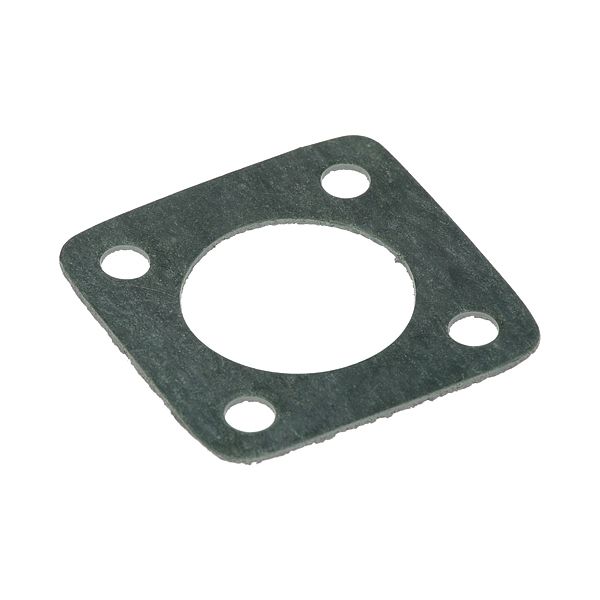
Stero A571114 Gasket 2-7/8" X 2-7/8"

Special Price $7.68 Regular Price $8.94
In stock
SKU
A571114
Manufacturer:

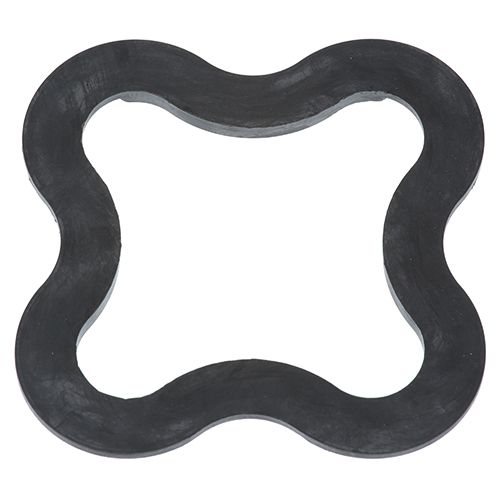
The Stero A571114 Gasket 2-7/8 X 2-7/8 is a tight fit by squeezing between two mating surfaces to regulate the circulation of heat, air, or fluids when using equipment. It is compact with the joined parts during attachment, keeping the internal and external parts separate. This is fixed at the heater assembly interface that lies between two flat surfaces. The shape and profile enable uniform contact over the sealing region and also enable the use of standard mounting hardware, which can be used in commercial equipment.

Dimensions

  • Length: 3 In
  • Width: 3 In
  • Height: 0.1 In
  • Weight: 0.1 lbs
https://partsfe.com/media/catalog/product/s/t/stero-a571114-gasket-2-7-8-x-2-7-8-79484-2.jpg

Product Notes

  • Element Flange Gasket
  • [ 2-7/8" X 2-7/8" ] [Fibre ][ Green ]
  • 4 Holes, 2" Ctrs Mount Holes
  • Stero Dishwasher Sc-1 Thru Sc-9, Sd2Ra, Sdra, Sdra-Pkg,
  • Sgw-H-M, Sgw-M, Stbuw, Stc, Stpc, Stpcw, Systematic,
  • Utensil.
Write Your Own Review
You're reviewing:Stero A571114 Gasket 2-7/8" X 2-7/8"
Your Rating
Customer Questions
What maintenance is required for the Stero A571114 Gasket?

Clean gasket regularly to remove grease and debris buildup ensuring proper sealing. Inspect for cracks, compression wear, or deformation around edges. Replace or realign if sealing performance drops to prevent leaks and efficiency loss.

What are common issues with the Stero A571114 Gasket?

  • Leakage due to worn or compressed gasket material.
  • Poor sealing from misalignment or improper seating in housing.
  • Cracking caused by chemical exposure or repeated pressure.
  • Reduced performance from debris buildup on sealing surfaces.

We strive to provide our customers with a hassle-free and efficient shopping experience. Our shipping policy ensures the timely delivery of your orders and complete customer satisfaction. View More

We are committed to ensuring your complete satisfaction with every purchase. We understand that circumstances may arise where you must return a product or request a refund. If for any reason you are not satisfied, you may return the item(s) according to the terms outlined below. View More

This Payment Policy outlines the terms and conditions governing all payments made for products purchased through our website. By making a purchase, you agree to be bound by this Payment Policy. View More

Installation Steps

Step1: Turn off dishwasher power and water supply.

Step2: Remove old gasket from door or tank groove carefully.

Step3: Clean surface, removing debris and moisture.

Step4: Align new gasket evenly around perimeter.

Step5: Press firmly into channel ensuring full seal contact.

Step6: Reconnect power and water, run short cycle.

Step7: Safety: wear gloves to avoid cuts and ensure proper fit to prevent leaks.