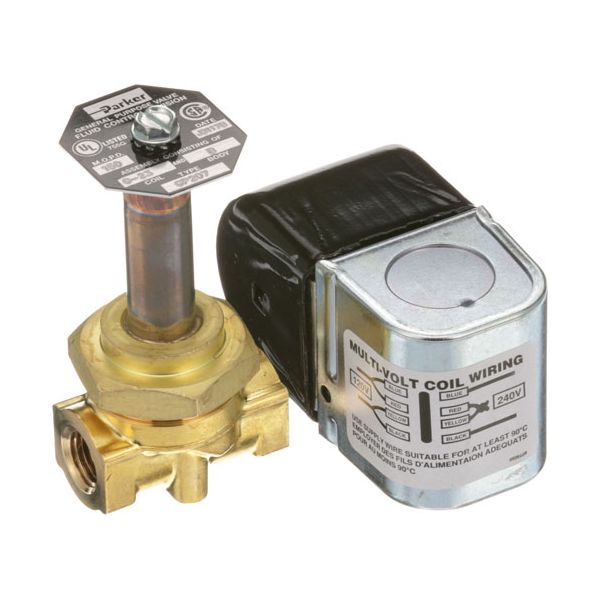
Parker Hannifin GP207-120/240V Solenoid Valve 1/4" 120/240V

Special Price $181.68 Regular Price $219.95
In stock
SKU
GP207-120/240V
The Parker Hannifin GP207-120/240V Solenoid Valve works by means of an electromagnetic coil to either open or close a 1/4" opening to either allow or stop the passage of liquids or gases depending on electrical signals at 120/240V. This is operated by the power flow to permit media flow when it is activated and to block media supply when it is disconnected to enable on-demand operation. This is used in piping systems with limited space and it is mounted in-line or on manifolds to control the circulation of fluids in a commercial system.

Dimensions

  • Length: 4.25 In
  • Width: 2.625 In
  • Height: 3.5 In
  • Weight: 1.6 lbs
https://partsfe.com/media/catalog/product/p/a/parker-hannifin-gp207-120-240v-solenoid-valve-1-4-120-240v-87401-2.jpg

Product Notes

  • Parker Solenoid Valve
  • Max Temp 225F/107C, 1-150 Psi.
  • [ Water ] [ Size 1/4" ] [ Nc ] [ 120/240 V ]
  • [ Width 1-3/4" ] [ Brand Parker ] [ Mfg# Gp207 ]
  • For Coil Use # 51-1205
  • For Repair Kit Use # 51-1194
PARKER HANNIFIN:
Write Your Own Review
You're reviewing:Parker Hannifin GP207-120/240V Solenoid Valve 1/4" 120/240V
Your Rating
Customer Questions
What maintenance is required for the Parker Hannifin GP207-120/240V Solenoid Valve?

Regularly inspect the valve for debris, corrosion, or leakage. Clean the internal components carefully, and ensure electrical connections are secure. Proper maintenance ensures accurate operation, prevents malfunctions, and maintains secure fluid control under varying pressures.

What are common issues with the Parker Hannifin GP207-120/240V Solenoid Valve?

  • Valve sticking or failing to actuate.
  • Leaks around seals or connections.
  • Electrical coil burnout or short circuits.
  • Inconsistent flow or pressure control.

We strive to provide our customers with a hassle-free and efficient shopping experience. Our shipping policy ensures the timely delivery of your orders and complete customer satisfaction. View More

We are committed to ensuring your complete satisfaction with every purchase. We understand that circumstances may arise where you must return a product or request a refund. If for any reason you are not satisfied, you may return the item(s) according to the terms outlined below. View More

This Payment Policy outlines the terms and conditions governing all payments made for products purchased through our website. By making a purchase, you agree to be bound by this Payment Policy. View More

Installation Steps

Step1: Turn off the power and depressurize the system to ensure safety.

Step2: Verify valve orientation matches flow direction markings.

Step3: Mount the valve securely using the provided fittings or brackets.

Step4: Connect the electrical wiring to the terminals.

Step5: Slowly restore system pressure and check for leaks.

Step6: Test operation by activating the solenoid, listen for proper clicking.