
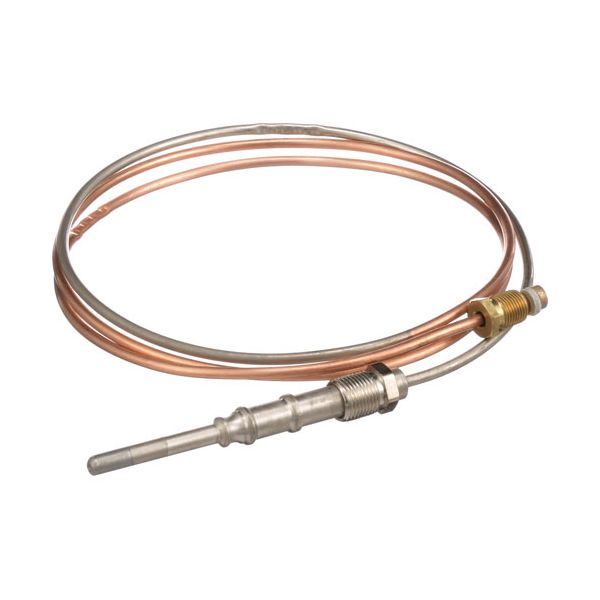
Montague 1036-7 Oven Thermocouple W/thick Capillary 20-30 MV Coaxial 48"

Special Price $64.33 Regular Price $83.54
In stock
SKU
1036-7
Manufacturer:

The Montague 1036-7 Oven Thermocouple is used to measure and control temperature in ovens and other cooking appliances. It has a 48” heavy-duty coaxial thermocouple with a thick capillary and it is used in the range of 20-30 MV. It is also suitable for models such as Johnson Controls K16RA-48C and Blodgett ovens and has 11/32”-32 threads for screwing. The use of the thermocouple makes it possible to maintain better temperature control which is essential in cooking and baking. It is made of nickel-plated material, which ensures its sturdiness and efficiency in supporting the oven’s performance.

Dimensions

  • Length: 5 In
  • Width: 3.25 In
  • Height: 1 In
  • Weight: 0.3 lbs
https://partsfe.com/media/catalog/product/m/o/montague-1036-7-oven-thermocouple-w-thick-capillary-20-30-mv-coaxial-48-79315-2.jpg

Product Notes

  • 48" Heavy Duty Coaxial Thermocouple, 20-30 Mv
  • With Thick Cappillary.
  • Coaxial Thermocouple Threads = 11/32"-32.
  • Johnson Controls K16Ra-48C
  • Nickel Plated
  • Blodgett Model?
Write Your Own Review
You're reviewing:Montague 1036-7 Oven Thermocouple W/thick Capillary 20-30 MV Coaxial 48"
Your Rating
Customer Questions
What maintenance is required for the Montague 1036-7 Thermocouple?

Clean the thermocouple regularly to remove grease and carbon buildup to ensure accurate temperature sensing. Inspect connections for looseness or corrosion and tighten if needed. Periodic checks help maintain oven safety and consistent heating performance.

What are common issues with the Montague 1036-7 Thermocouple?

  • Signal drift or weak millivolt output causing inconsistent heating.
  • Cracked or damaged thermocouple probe leading to inaccurate temperature readings.
  • Loose connections or worn insulation causing intermittent control failures.
  • Corrosion issues at junction affecting response time.

We strive to provide our customers with a hassle-free and efficient shopping experience. Our shipping policy ensures the timely delivery of your orders and complete customer satisfaction. View More

We are committed to ensuring your complete satisfaction with every purchase. We understand that circumstances may arise where you must return a product or request a refund. If for any reason you are not satisfied, you may return the item(s) according to the terms outlined below. View More

This Payment Policy outlines the terms and conditions governing all payments made for products purchased through our website. By making a purchase, you agree to be bound by this Payment Policy. View More

Installation Steps

Step1: Turn off the gas supply and disconnect power to the oven before starting.

Step2: Allow the oven to cool completely to avoid burns.

Step3: Remove the old thermocouple from the pilot assembly and gas valve connection.

Step4: Position the new thermocouple in the same location and tighten fittings securely.

Step5: Reassemble oven panels and restore gas and power connections.

Step6: Test the pilot flame and confirm proper oven operation before regular use.