
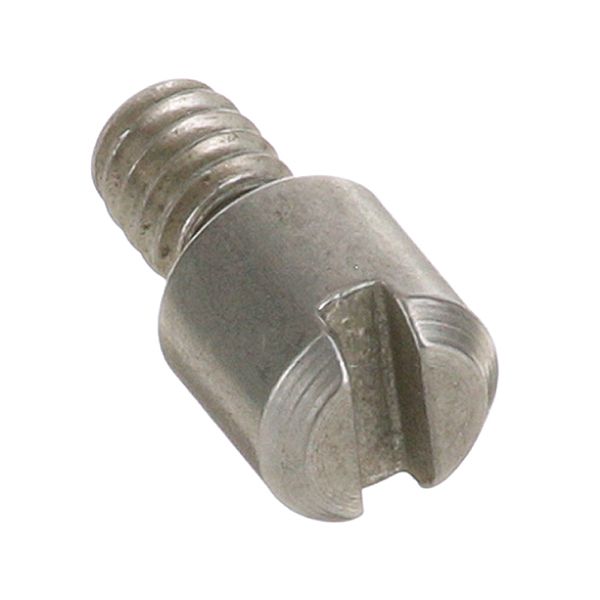
Hatco 04.24.023.00 Hinge Pin
$8.00
In stock
SKU
04.24.023.00
Manufacturer:

The Hatco 04.24.023.00 Hinge Pin works by acting as the latch point of the doors so that they swing freely without losing track. It is also firmly clamped in sliding brackets, which hold the components together and allow them to rotate along a fixed axis. This latch button is fitted in the gates or access panels of commercial kitchen equipment, and it is installed in the closing assembly to ensure that there is controlled movement and that the entrance operates properly.
Dimensions
- Length: 0.75 In
- Width: 0.25 In
- Height: 0.75 In
- Weight: 0.1 lbs
Product Notes
- Hinge Pin, 1/4"-20 Stud X 3/8" Dia, Screwdriver Slot On
- End.
- Hatco Fdw