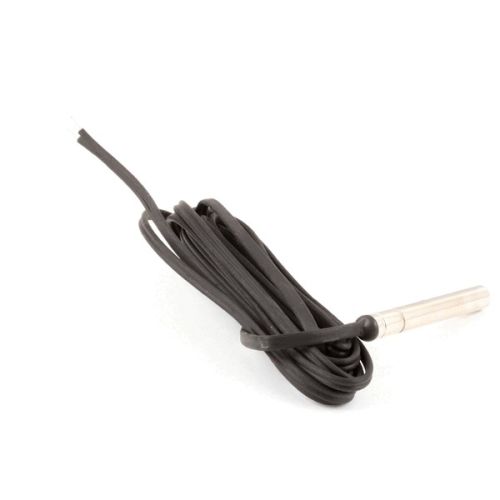
Henny Penny 58929 HP Black and White Temperature Probe
Special Price $60.73 Regular Price $73.95
In stock
SKU
58929
Manufacturer:

Hp Bw Temperature Probe
Dimensions
- Length: 2 In
- Width: 2 In
- Height: 1 In
- Weight: 0.02 lbs
| Manufacturer Name: Henny Penny Product Number: 58929 OEM Part Number: 58929 Product Description: Hp Bw Temperature Probe Similar Models:NONE Dimensions: Length:2in/5.08cm Width:2in/5.08cm Height:1in/2.54cm Weight:0.02lbs/9.07g |
Same Day Shipping
Best Quality And Best Price
Wide Range of Inventory
Best Customer Service
We strive to provide our customers with a hassle-free and efficient shopping experience. Our shipping policy ensures the timely delivery of your orders and complete customer satisfaction. View More
We are committed to ensuring your complete satisfaction with every purchase. We understand that circumstances may arise where you must return a product or request a refund. If for any reason you are not satisfied, you may return the item(s) according to the terms outlined below. View More
This Payment Policy outlines the terms and conditions governing all payments made for products purchased through our website. By making a purchase, you agree to be bound by this Payment Policy. View More
Step1: Turn off and unplug the unit; allow it to cool completely.
Step2: Open the control panel to access the probe connection.
Step3: Disconnect the old probe from its terminal and mounting point.
Step4: Route the new probe along the same path, avoiding hot surfaces.
Step5: Secure the probe in place and reconnect wiring firmly.
Step6: Reassemble the panel, restore power, and test temperature readings.