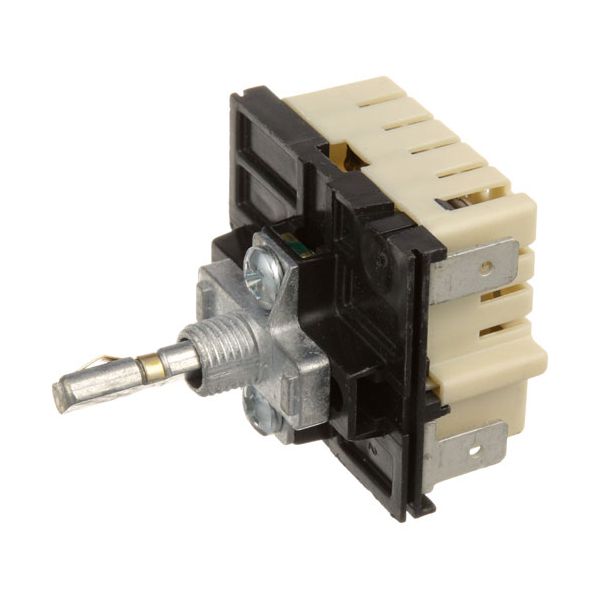
Blodgett 21618 Infinite Switch W/Horizontal Palnut Mount 5 AMP 3/16" 120V
Special Price $49.08 Regular Price $63.75
In stock
SKU
21618
Manufacturer:

The Blodgett 21618 Infinite Switch W/Horizontal Palnut Mount 5 AMP 3/16" 120V regulates the amount of electricity flowing to heating elements, which can then be adjusted to control the levels of temperature by turning the rotating mechanism. A horizontal panel mount is used to hold the switch in position ensuring that it is in line during operation. It is inserted in the specified mounting position to be able to interface directly with the electrical system. Its design allows one to control the cooking or baking procedure to an exact degree without adjusting.
Dimensions
- Length: 1.75 In
- Width: 1.75 In
- Height: 2.5 In
- Weight: 0.2 lbs
Product Notes
- Infinite Switch
- 120V, Horiz Palnut, 15 Amp, 3/16" (.187) Flat Down,
- Robertshaw # 5502-303
- Dial # 22-1012, Chrome Face
- Cecilware
- Warmer Ffw, Fw, Fwl.
- Delfield Model?
- Nemco Hot Dog Grill Model?
- Seco Model?