Cleveland SK2360700 Dial Insert 140-425°F

Special Price $20.29 Regular Price $21.95
In stock
SKU
SK2360700
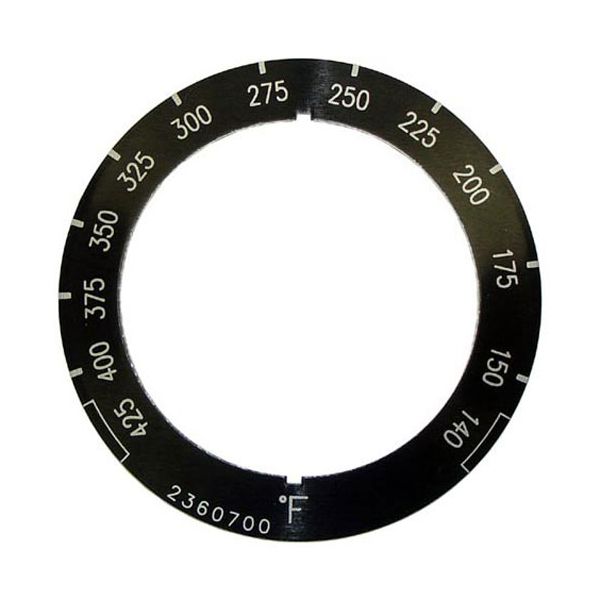
The Cleveland SK2360700 Dial Insert 140-425°F allows the control of the temperature by converting the manual rotation into certain thermal settings of the heating part. This part readily fits onto the front control panel of the compatible steaming equipment and clamps firmly on the warming shaft to provide the operator with a clear interface. The black-on-white indicators are visible in the chosen temperatures between 140°F and 425°F. This switch component does not change the initial equipment setup but only upholds it.

Dimensions

  • Length: 2.25 In
  • Width: 2.25 In
  • Height: 0.125 In
  • Weight: 0.1 lbs
https://partsfe.com/media/catalog/product/c/l/cleveland-sk2360700-insert-50027.jpg

Product Notes

  • Knob Insert, F-425-140
  • 2-3/8" Od Overlay, 425-140,
  • Used With A3577, #22-1384 Knob
  • Cleveland Skillet
CLEVELAND:
2360700, CLE2360700, CLESK2360700, SK2360700
Write Your Own Review
You're reviewing: Cleveland SK2360700 Dial Insert 140-425°F
Your Rating
Customer Questions
What is the Best Electric Griddle?

Electric Griddle is an electronic equipment that uses an electric element as its heat source. It has a large cooking surface often made up of nonstick material. Electric Griddle has a surface which you do not find in the regular stovetop cookware. ...

What maintenance is required for the Cleveland SK2360700 Insert?

Perform regular inspection and clean the insert to prevent grease buildup and corrosion. Ensure proper fitting during installation to avoid misalignment. Check for wear or damage periodically and replace if deformation occurs.

What are common issues with the Cleveland SK2360700 Insert?

  • Warping from heat exposure and repeated cycling.
  • Misalignment during installation causing improper seating.
  • Buildup of grease or debris affecting performance.
  • Loose fit causing operational instability.

We strive to provide our customers with a hassle-free and efficient shopping experience. Our shipping policy ensures the timely delivery of your orders and complete customer satisfaction. View More

We are committed to ensuring your complete satisfaction with every purchase. We understand that circumstances may arise where you must return a product or request a refund. If for any reason you are not satisfied, you may return the item(s) according to the terms outlined below. View More

This Payment Policy outlines the terms and conditions governing all payments made for products purchased through our website. By making a purchase, you agree to be bound by this Payment Policy. View More

Installation Steps

Step1: Turn off power and allow equipment to cool completely before starting.

Step2: Remove existing insert and clean the mounting cavity thoroughly before proceeding.

Step3: Align the new insert with the designated slot or frame.

Step4: Secure insert using proper fasteners, tightening evenly to prevent misalignment.

Step5: Reconnect power and verify proper seating and alignment of the insert.