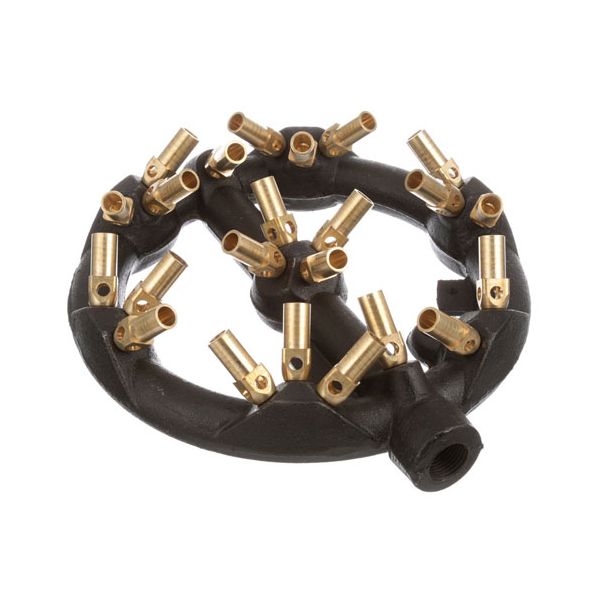
Imperial 1272 Range Jet Burner Natural Gas W/23 Tip 9" DIA Cast Iron
Special Price $84.36 Regular Price $129.99
In stock
SKU
1272
Manufacturer:

The Imperial 1272 Range Cast Iron Jet Burner is a 9" diameter that is used in natural gas, and it has a 23 tip. This element supplies a regulated gas-air mixture to create a uniform cooking fire on compatible commercial ranges. It is installed under the cooktop and is used as one of the main sources, of heat to the pots and pans in restaurant kitchens. It is a component of the burner system in the range that facilitates the stability of flame performance and the provision of heat during high-volume cooking processes.
Dimensions
- Length: 9.25 In
- Width: 10 In
- Height: 3.5 In
- Weight: 5.46 lbs
Product Notes
- Cast Iron 9" Dia Jet Burner, Nat W/ 23 Brass Jets
- 1/2" Fpt Inlet, ( No Longer Comes W/Pilot)
- 100,000 Btu
- Replacement Jets:
- Nat Jet # 26-1869
- Lp Jet # 26-1870
- Imperial
- Range Series: Icra, Isp-J.
- Rankin-Delux
- Range Series: Or Oriental Wok Range.