
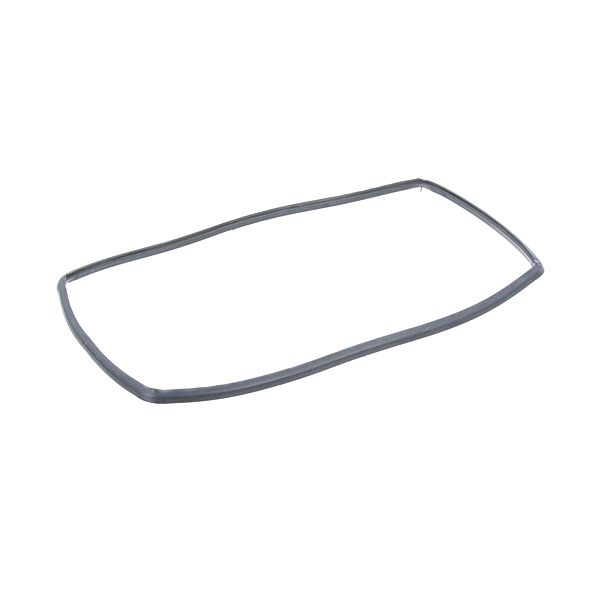
Cadco KGN1230A Oven Door Gasket
$141.60
In stock
SKU
KGN1230A
Manufacturer:

The Cadco KGN1230A Door Gasket is a reliable replacement part designed to ensure a secure seal on oven door. It functions by a barrier to heat and moisture during cooking, thereby leading to uniform temperatures within the oven. This gasket is particularly designed for use in residential ovens increasing efficiency in energy consumption and roasting. They also enable the minimum Damage of other parts of the oven that should be in optimal condition for the environment inside the oven to be maintained.
Dimensions
- Length: 6 In
- Width: 5 In
- Height: 3 In
- Weight: 0.3 lbs