Hobart ML16225Z Disc Holder

Special Price $203.57 Regular Price $227.00
In stock
SKU
ML16225Z
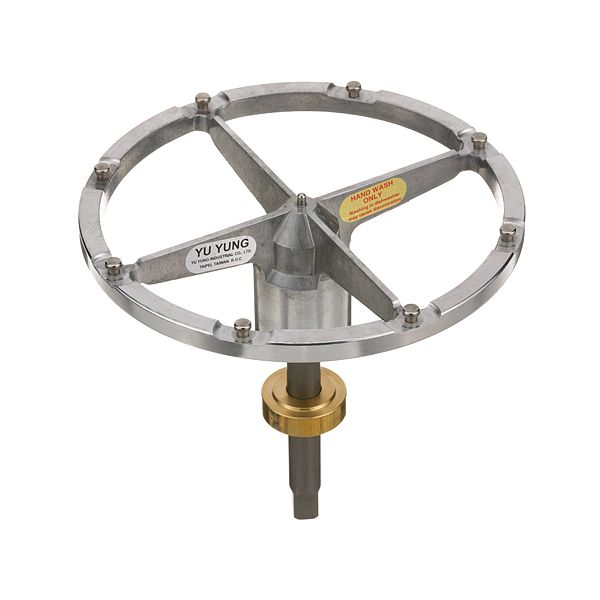
The Hobart 16225Z Disc Holder is a must have for commercial kitchens using #12 attachments. This high quality disc holder has a .574" square drive and is designed to securely hold disc attachments like shredders and graters. It has a compatible size of about 9/16" and can be easily integrated with attachments such as the #12 knife holder, stainless steel S knife, and various shredder plates from 3/32" to 1/2". The disc holder works by locking a chosen plate in place, allowing for precision when food preparation. Advantages of the Hobart ML16225Z include improved efficiency of slicing, shredding and grating vegetables and cheese, as well as time savings in meal prep.

Dimensions

  • Length: 11 In
  • Width: 11 In
  • Height: 10.75 In
  • Weight: 2.7 lbs
https://partsfe.com/media/catalog/product/h/o/hobart-ml16225z-disc-holder-89410.jpg

Product Notes

  • #12 Disc Holder. # 26-1518, .574" Sq. Drive, Aprox 9/16".
  • Components For #12 Attachment:
  • #12 Knife Holder With Ss "S" Knife, # 26-1517
  • #12 Disc Holder, # 26-1518
  • #12 Shredder Plate, 3/32", # 26-1519
  • #12 Shredder Plate, 3/16", # 26-1520
  • #12 Shredder Plate, 1/4", 3 26-1521
  • #12 Shredder Plate, 5/16", # 26-2618
  • #12 Shredder Plate, 1/2", # 26-1522
  • #12 Greater Plate, # 26-1523
HOBART:
00-ML16225Z, HOB00-ML16225Z, HOBML16225Z, ML16225Z
INTEDGE:
Write Your Own Review
You're reviewing:Hobart ML16225Z Disc Holder
Your Rating
Customer Questions
What maintenance is required for the Hobart ML16225Z Disc Holder?

Clean the disc holder regularly to remove dough, flour, and debris buildup. Inspect for bent or worn edges that could affect dough processing. Ensure it’s properly seated and tighten any loose fasteners. Always disconnect power and follow safety guidelines before servicing.

What are the common issues with the Hobart ML16225Z Disc Holder?

  • Misalignment or wobbling during operation.
  • Accumulated debris is affecting performance.
  • Damage to holding surfaces.
  • Loose or missing mounting hardware.

We strive to provide our customers with a hassle-free and efficient shopping experience. Our shipping policy ensures the timely delivery of your orders and complete customer satisfaction. View More

We are committed to ensuring your complete satisfaction with every purchase. We understand that circumstances may arise where you must return a product or request a refund. If for any reason you are not satisfied, you may return the item(s) according to the terms outlined below. View More

This Payment Policy outlines the terms and conditions governing all payments made for products purchased through our website. By making a purchase, you agree to be bound by this Payment Policy. View More

Installation Steps

Step1: Ensure the appliance is turned off before installation.

Step2: Open the unit to access the disc holder area.

Step3: Remove any existing holder or attachment.

Step4: Position the new disc holder into place.

Step5: Secure it firmly using the provided fittings.

Step6: Ensure it aligns correctly with the drive mechanism.

Step7: Close the unit securely.

Step8: Test for proper fit and operation.