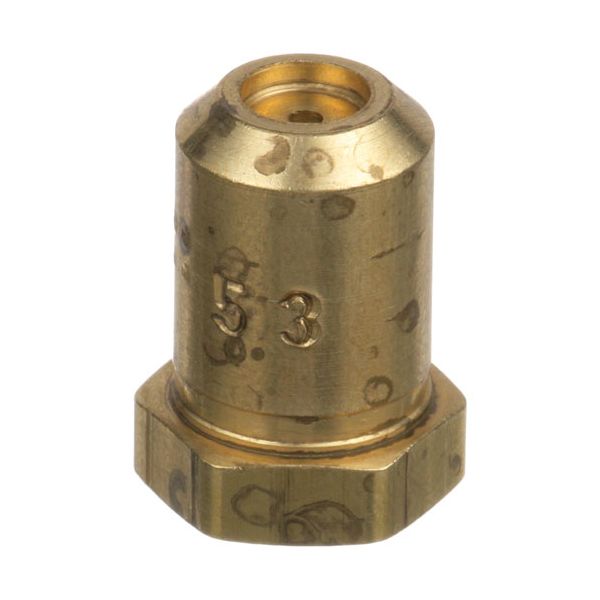
Star Mfg 2A-39335 Burner Orifice #53 3/8"-27 X 1/2"
$6.08
Out of stock
SKU
2A-39335
Manufacturer:

Star Mfg 2A-39335 Burner Orifice 53 has a brass hood and is a gas control part that is used in commercial cooking equipment. It works by controlling the flow of the fuel that passes through the gas valve to the burner, the size of the flame and the amount of heat produced. This opening is fitted directly into the burner of the compatible ranges and ovens. It is an essential component in the gas system of the appliance, which provides the necessary level of fuel to the burner.
Dimensions
- Length: 0.75 In
- Width: 0.25 In
- Height: 0.75 In
- Weight: 0.01 lbs
Product Notes
- Brass Hood Orifice,
- 3/8"-27 X 1/2" High X #53
- Jade Broiler Jcbh
- Grill Jggt, Jggtb, Jgm, Jgt, Jgtb
- Star Broiler
- Tec (Thermal Engineering Corp)