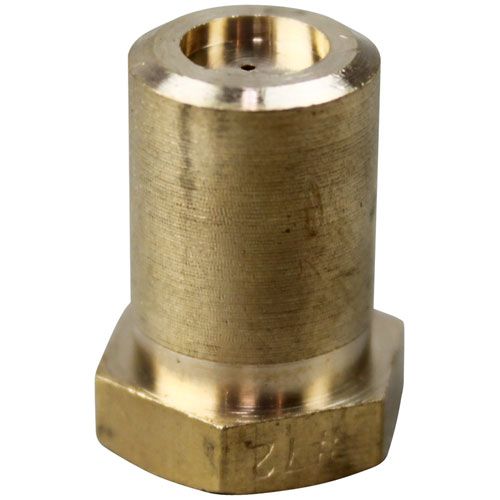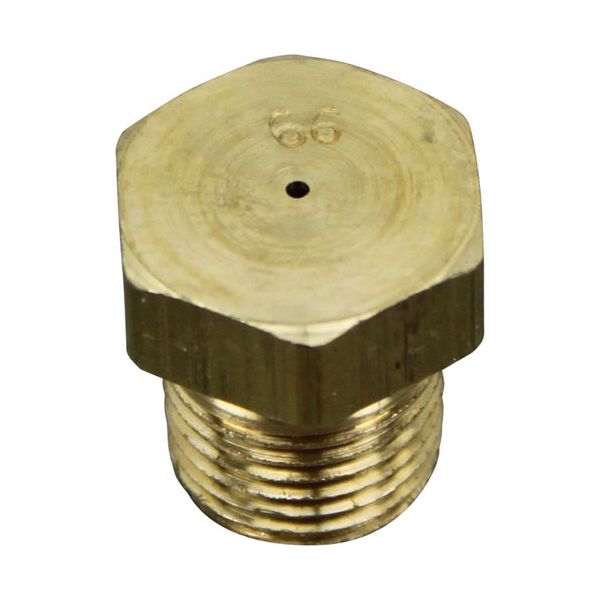
Frymaster 8261387 Fryer Liquid Propane Burner Orifice 66
$3.16
In stock
SKU
8261387
Manufacturer:

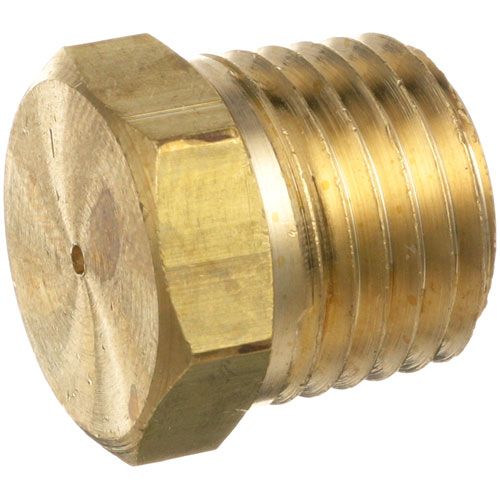
The Frymaster 8261387 Fryer Liquid Propane Burner Orifice 66 operates by regulating the amount of liquid that passes through a small calibrated opening. The gas stream is shaped by the fixed-size hole to be able to mix with the air to allow ignition to take place. This is an opening on the inlet of a burner tube within a cooking system. It has a thread that enables it to screw into a valve or manifold opening. The gas moves through the aperture and into the burner to be lit.
Dimensions
- Length: 0.5 In
- Width: 0.5 In
- Height: 0.5 In
- Weight: 0.02 lbs
Product Notes
- Brass Burner Orifice, #66, Lp, 13/32"-27 Thread
- 0.86Mm, #66 Hole.
- Frymaster Fryer Gf40, Mj45E, Mjcfe With Computer Magic.