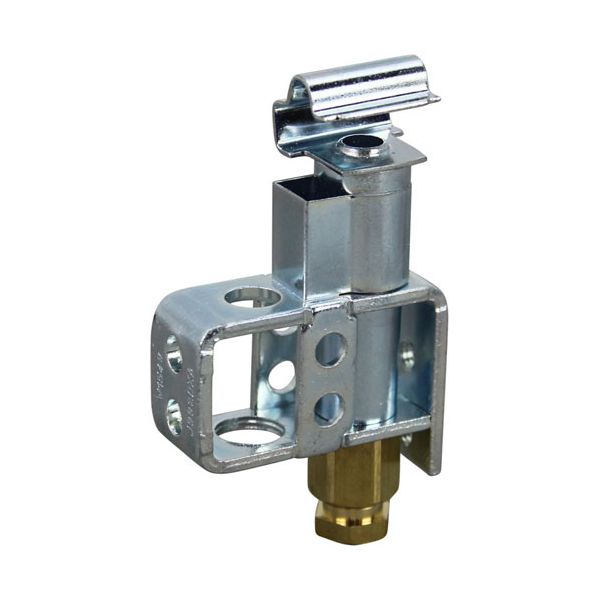
Montague 23220-3 Oven Pilot Assembly
Special Price $66.64 Regular Price $68.00
In stock
SKU
23220-3
Manufacturer:

The Montague 23220-3 Pilot Assembly is used in ovens to ensure that ignition and flame is maintained and controlled. It has a 1/4” tube diameter, standard flame shape and comes with LP and NAT orifice for better performance. This pilot assembly is suitable for Montague oven models such as Grizzly G and range series Cub to proper ignition. This operates by igniting the burner for the required cooking heat.
Dimensions
- Length: 5 In
- Width: 4 In
- Height: 3.125 In
- Weight: 0.3 lbs
Product Notes
- Lp Pilot, Factory # Johnson J992Dxa-7221C,
- Tube Size 1/4", Flame Pattern Standard,
- Lp Orifice A1249, M-207, # 26-1676
- Nat Orifice A1248, M-141B, # 26-1675
- Montague
- Oven Series: Grizzly G.
- Range Series: Cub.