Grindmaster 2231 Drip Pan Plastic
Special Price $22.30 Regular Price $35.40
In stock
SKU
2231
Manufacturer:

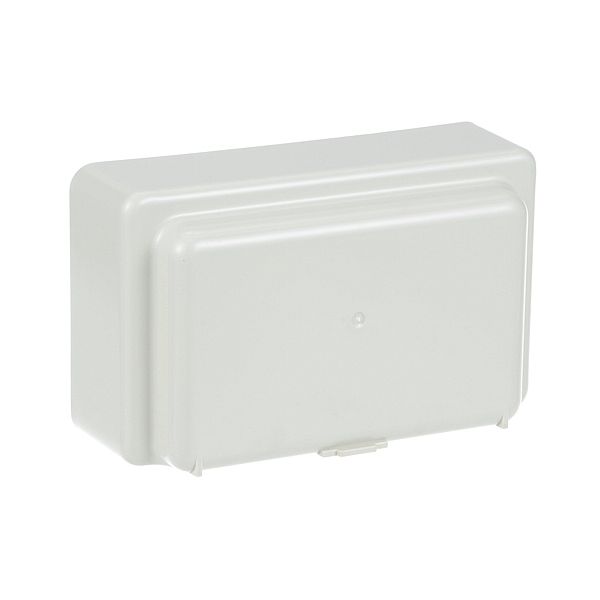
The Grindmaster 2231 Drip Pan Plastic 4-3/4" X 7-3/4" X 2-3/4" Deep collects liquid runoff from systems as it flows from drip points into a moulded basin designed to channel excess fluid away from internal components and supports management, within the housing space. It operates by capturing overflow, and condensation during cycles guiding the liquid through structured contours that reduce spillage accumulation, and directing it toward a collection outlet for further handling without interrupting dispensing flow patterns. It is typically placed in systems to sit at the base where liquid runoff naturally collects, aligning with the equipment's discharge zone.
Dimensions
- Length: 8 In
- Width: 5 In
- Height: 3.25 In
- Weight: 0.4 lbs
Product Notes
- Plastic Drip Tray
- 4-3/4" X 7-3/4" X 2-3/4" Deep, Tan Plastic
- Crathco D25-4