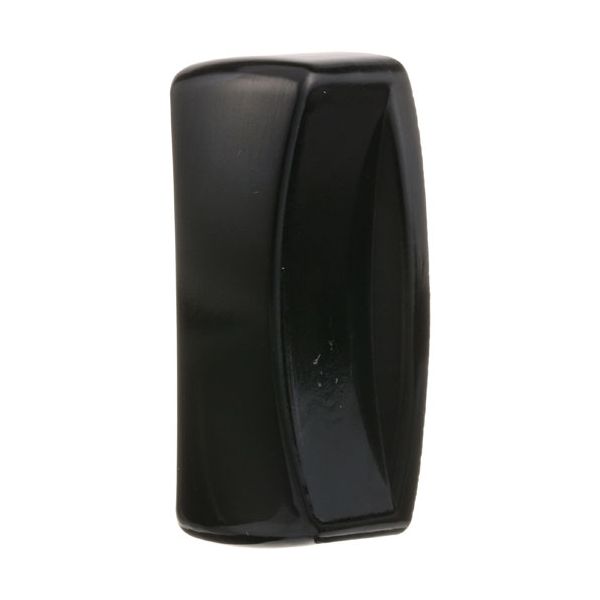
Garland 1089100 Black Plastic Knob 2-1/8" X 1", Mount 240"
Special Price $10.40 Regular Price $12.36
In stock
SKU
1089100
Manufacturer:

The Garland 1089100 Black Plastic Knob 2-1/8 inch x 1 inch Mount 240 inches rotates the control shaft to change a setting by moving the internal mechanism as it turns. When the knob is turned, its mounting hole clips the control shaft, and the desired position may move along the range of the control. It is fixed on the front panel of the equipment from which the control shaft sticks out, so that the knob fits into any marked scale or indicator. The depth and diameter give the machine a surface to be adjusted manually and used as a reference when operating.
Dimensions
- Length: 2.25 In
- Width: 0.75 In
- Height: 2.25 In
- Weight: 0.03 lbs
Product Notes
- Black Plastic Knob [ 2-1/8" X 1" ] [Mount .240"] [Flat Up]
- Set Screw Down, Rectangle
- Garland
- Broiler 76-40, 76-50R, 78-40, 78-50R, Bc-66, Ir-67.
- Grill Gv283.
- Range 60-40R, 60-50R.Series: 40/50, G30A, G280
- (Except G280-2), Gv280
- Montague Broiler Where Applicable.
- Us Range
- Vulcan
- Broiler Sar 34 Salamander.
- Range Series: 77, Sg-77 & Where Applicable.