Pitco PP10266 Fryer Round Head Screw Zinc 4-40 X 0.250"

Special Price $15.40 Regular Price $25.00
In stock
SKU
PP10266
Manufacturer:
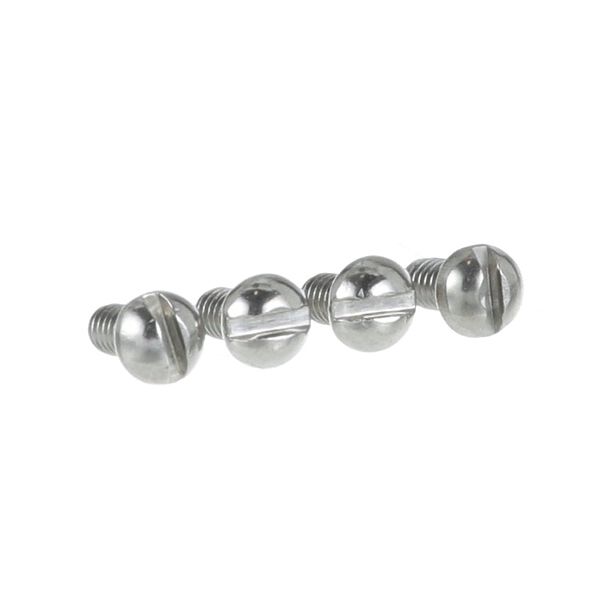
The Pitco PP10266 Fryer Round Head Screw Zinc 4-40 X 0.250" is a component that is threaded into tapped holes to keep parts together during assembly of the equipment. It operates by clamping to hold the components, together and ensure that the parts remain still. This is fixed in the specified mounting points in compatible assemblies. it is compatible with particular fastening needs. The design enables easy sitting on the surfaces, and the zinc finish offers a normal coating that can be used in commercial foodservice equipment settings.

Dimensions

  • Length: 1 In
  • Width: 1 In
  • Height: 1 In
  • Weight: 0.1 lbs
https://partsfe.com/media/catalog/product/p/i/pitco-pp10266-4-40-x-250-round-head-zinc-screw-56986.jpg
Manufacturer Name: Pitco
Product Number: PP10266
OEM Part Number: PP10266
Product Description: 4-40X 250 Rdh Zn Scr
Similar Models:NONE
Dimensions:
Length:1in/2.54cm
Width:1in/2.54cm
Height:1in/2.54cm
Weight:0.1lbs/45.36g

Choose the best Commercial kitchen & Restaurant equipment parts and supplies from PartsFe!

  • Same Day Shipping

  • Best Quality And Best Price

  • Wide Range of Inventory

  • Best Customer Service

Have More Questions or Need Help to Place The Order?
Reach us at 866-863-0907 or contact@partsfe.com

MAGIKITCH'N:
PITCO:
Write Your Own Review
You're reviewing:Pitco PP10266 Fryer Round Head Screw Zinc 4-40 X 0.250"
Your Rating
Customer Questions
What maintenance is required for the Pitco PP10266 Screw?

Check the screw for tightness and signs of corrosion. Clean threads and ensure proper fastening during use. Maintenance supports secure assembly and accurate component alignment.

What are common issues with the Pitco PP10266 Screw?

  • Thread stripping affecting fastening ability.
  • Corrosion weakening the screw structure.
  • Loosening under vibration conditions.
  • Misalignment during installation.
  • Difficulty securing components firmly.

We strive to provide our customers with a hassle-free and efficient shopping experience. Our shipping policy ensures the timely delivery of your orders and complete customer satisfaction. View More

We are committed to ensuring your complete satisfaction with every purchase. We understand that circumstances may arise where you must return a product or request a refund. If for any reason you are not satisfied, you may return the item(s) according to the terms outlined below. View More

This Payment Policy outlines the terms and conditions governing all payments made for products purchased through our website. By making a purchase, you agree to be bound by this Payment Policy. View More

Installation Steps

Step1: Ensure the equipment is powered off before installation.

Step2: Align the components or panels that need to be secured.

Step3: Insert the screw into the appropriate mounting hole.

Step4: Use a screwdriver to tighten the screw firmly into place.

Step5: Avoid over-tightening to prevent stripping the threads.

Step6: Check that all parts are securely fastened and stable.