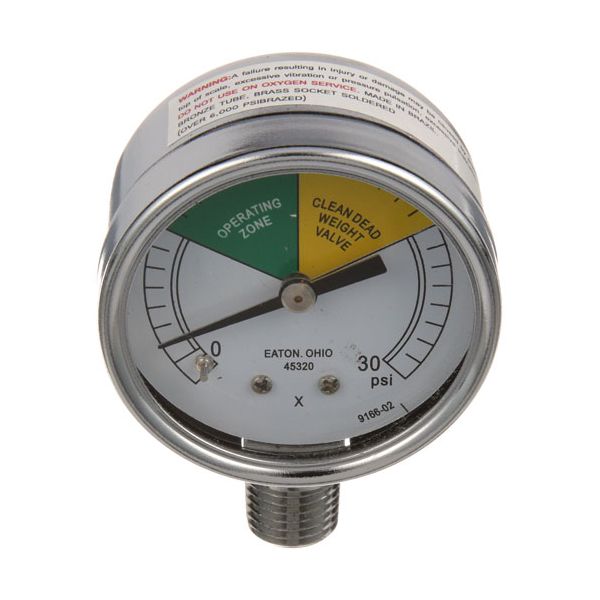
Henny Penny 16910 Pressure Gauge 2" Dial
Special Price $36.41 Regular Price $44.70
In stock
SKU
16910
Manufacturer:

The Henny Penny 16910 Pressure Gauge 2" dial is an essential part that is used in compatible commercial appliances. This gauge is used to measure the level of internal pressure and it shows it on a dial face that is easy to read. It is installed on the pressure vessel or the control panel of the fryer where it is connected to the pressure sensing line to give real-time readings. Being a part of the safety and control system, it assists users in checking the conditions of pressure and ensuring the appropriate adherence to the requirements of cooking.
Dimensions
- Length: 2.75 In
- Width: 2.25 In
- Height: 1 In
- Weight: 0.3 lbs
Product Notes
- Pressure Gauge, Size 2" Dia, [Range 0-30 Psi]
- With "Operating Zone" & "Clean Dead Weight" Indicators.
- Bottom Mount 1/4" Mpt
- Henny Penny Fryer 500, 561, 600, 680