Nor-Lake 119401 Refrigerator Control Sensor

Special Price $22.33 Regular Price $36.30
In stock
SKU
119401
Manufacturer:
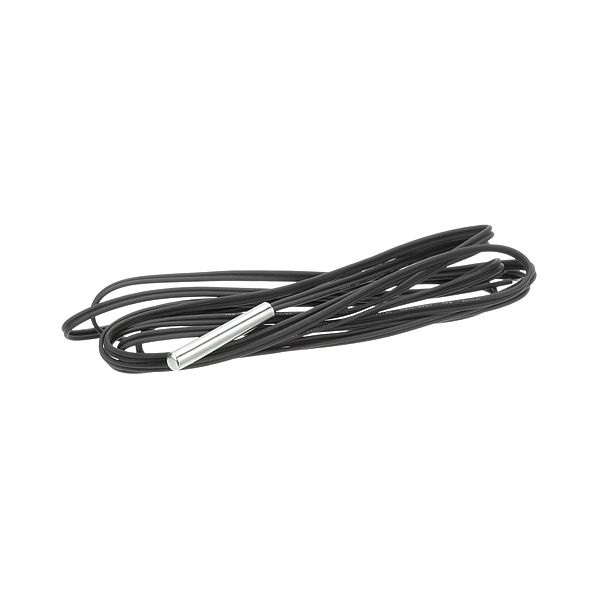
The Nor-Lake 119401 Refrigerator Control Sensor is a temperature detector system installed in compatible commercial units to check the temperature inside of the refrigerator. It measures variations in temperature and transmits a signal to the controller to change the operation of compressors and fans to provide adequate cooling. The sensor is installed in the refrigerated compartment or air distribution space, and it is linked to the control board and provides regular temperature data when the system is used normally. It is applied in the walk-in coolers, reach-ins, and prep tables in foodservice settings.

Dimensions

  • Length: 0.25 In
  • Width: 0.25 In
  • Height: 1.625 In
  • Weight: 0.1 lbs
https://partsfe.com/media/catalog/product/n/o/nor-lake-119401-probe-74077-2.jpg

Product Notes

  • Probe, Dixell Ntc Defrost & Fan
  • 8' Long Overall, Bulb = 1-3/4" Long X 1/4" Dia.
  • Randell Fx-1, Fx-1Cs, Fx-2Cs, Fx-2Ws, Fx-3Ss, Ssac-40Bsc
Write Your Own Review
You're reviewing:Nor-Lake 119401 Refrigerator Control Sensor
Your Rating
Customer Questions
What are the Components of an Ice Machine?

An ice machine is a device that produces and stores ice. It is used by people who wish to have cold drinks or food at home, or by those who wish to have cold storage for their Refrigerators Parts. ParstFe is your one stop solution for Manitowoc, Scotsman...

What maintenance is required for the Nor-Lake 119401 Probe?

Clean probe regularly to prevent buildup affecting readings. Inspect wiring and connections for corrosion or looseness to ensure accurate temperature sensing. Ensure proper placement in refrigeration unit and avoid physical damage during servicing.

What are common issues with the Nor-Lake 119401 Probe?

  • Inaccurate temperature readings due to probe drift or contamination.
  • Loose or damaged wiring causing intermittent signal loss.
  • Sensor failure from moisture ingress or corrosion.
  • Improper placement leading to false temperature readings.

We strive to provide our customers with a hassle-free and efficient shopping experience. Our shipping policy ensures the timely delivery of your orders and complete customer satisfaction. View More

We are committed to ensuring your complete satisfaction with every purchase. We understand that circumstances may arise where you must return a product or request a refund. If for any reason you are not satisfied, you may return the item(s) according to the terms outlined below. View More

This Payment Policy outlines the terms and conditions governing all payments made for products purchased through our website. By making a purchase, you agree to be bound by this Payment Policy. View More

Installation Steps

Step1: Disconnect power supply and ensure equipment is de-energized before starting.

Step2: Access control compartment and locate existing probe mounting point, noting wiring layout.

Step3: Remove old probe carefully and inspect cable routing for damage or wear.

Step4: Install new probe securely in original position, route cable neatly, and reconnect to control terminals.

Step5: Restore power, verify temperature readings, and ensure stable operation before closing panel.