
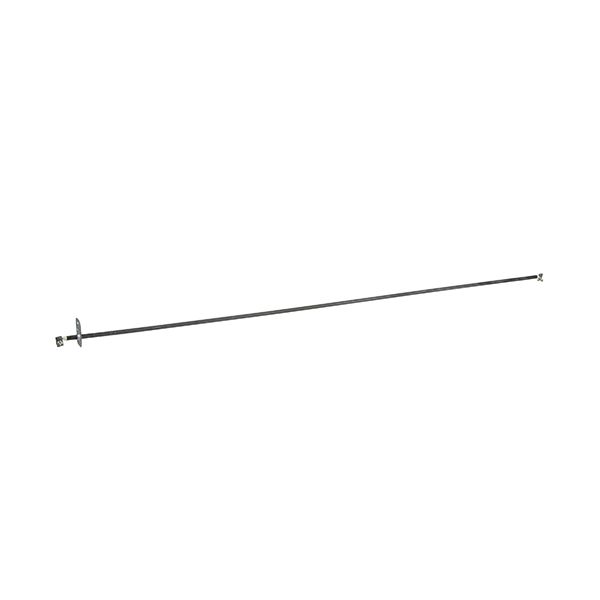
Hatco R02.08.128D Warmer Elements 30" 208V 660W

Special Price $37.32 Regular Price $62.00
In stock
SKU
R02.08.128D
Manufacturer:

The Hatco R02.08.128D Warmer Element provides efficient heating performance for food service applications which maintains your dishes at their better serving temperatures. The 30-inch element functions at 208V 660W power and serves as a robust solution for active food service environments. This updated design element stands out with its .260” diameter that provides better heat distribution than previous versions. Users who want to replace older equipment need to modify end plates because the new elements have a bigger .260" diameter. This product works with multiple Hatco models such as C-9, GR-B, GRAH, GRAH-18, GRAHL, and GRH and more.

Dimensions

  • Length: 26.5 In
  • Width: 1.5 In
  • Height: 0.75 In
  • Weight: 0.3 lbs
https://partsfe.com/media/catalog/product/h/a/hatco-r02-08-128d-warmer-elements-30-208v-660w-40567.jpg

Product Notes

  • 208V 660W, 30" Warmer
  • New Style .260" Dia.
  • 25-1/2" From End Of Element To Mounting Bracket.
  • To Replace Elements In Old Style Units, You Must Notch The
  • End Plates To Accept The Larger Diameter New Style Elements.
Write Your Own Review
You're reviewing:Hatco R02.08.128D Warmer Elements 30" 208V 660W
Your Rating
Customer Questions
What is the Best Electric Griddle?

Electric Griddle is an electronic equipment that uses an electric element as its heat source. It has a large cooking surface often made up of nonstick material. Electric Griddle has a surface which you do not find in the regular stovetop cookware. ...

What maintenance is required for the Hatco R02.08.128D Element?

Regularly inspect heating element for buildup, wear, and electrical connection integrity. Keep terminals clean and secure to prevent resistance issues. Prevent moisture exposure and ensure routine checks are performed to maintain consistent heating performance and safety.

What are common issues with the Hatco R02.08.128D Element?

  • Inconsistent heat output across element sections.
  • Complete burnout or open circuit failure.
  • Loose connections causing intermittent operation.
  • Surface corrosion reducing efficiency.
  • Overheating from faulty electrical contact points.

We strive to provide our customers with a hassle-free and efficient shopping experience. Our shipping policy ensures the timely delivery of your orders and complete customer satisfaction. View More

We are committed to ensuring your complete satisfaction with every purchase. We understand that circumstances may arise where you must return a product or request a refund. If for any reason you are not satisfied, you may return the item(s) according to the terms outlined below. View More

This Payment Policy outlines the terms and conditions governing all payments made for products purchased through our website. By making a purchase, you agree to be bound by this Payment Policy. View More

Installation Steps

Step1: Disconnect electrical supply and verify zero voltage using a tester.

Step2: Remove old heating element and clean mounting surface.

Step3: Position new warmer element, align brackets, and secure firmly.

Step4: Connect wiring according to schematic, ensuring tight insulated connections.

Step5: Restore power, test heating operation, and check for overheating or loose fittings.

Step6: Ensure unit is properly grounded and comply with electrical safety standards before final operation.