
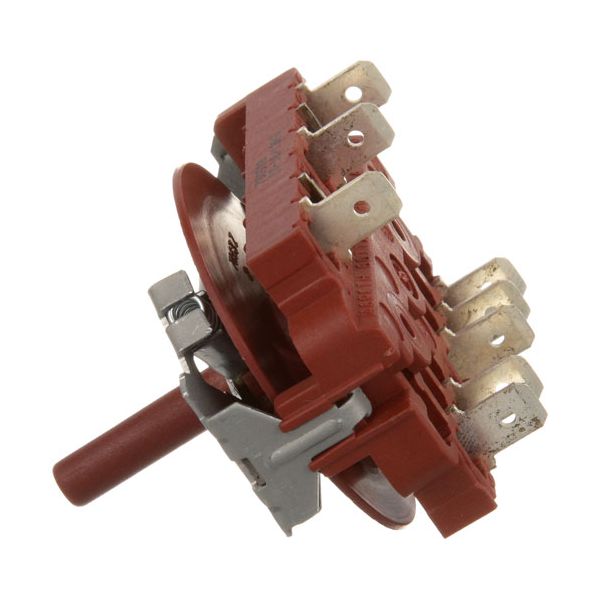
Montague 48479-2 4-Position Oven Rotary Switch 25A/250VAC 1/4" TAB

Special Price $60.63 Regular Price $123.75
In stock
SKU
48479-2
Manufacturer:

The Montague 48479-2 4 Position Rotary Switch is used in ovens as it enables the user to set the desired temperature. It has (8) 1/4” tab terminals and has an amperage of 25A, a voltage of 250VAC. This switch is suitable for Montague Oven models Vectaire, 70/115, and Vectair II. This is particularly due to the rotary switch that enables easy control of the cooking functions of the oven. It improves the usability and offers a more efficient and steady performance which makes it a essential part for oven performance and for cooking support in kitchens.

Dimensions

  • Length: 3 In
  • Width: 1.75 In
  • Height: 2.5 In
  • Weight: 0.25 lbs
https://partsfe.com/media/catalog/product/m/o/montague-48479-2-4-position-oven-rotary-switch-25a-250vac-1-4-tab-40549-2.jpg

Product Notes

  • 4 Position Rotary Switch
  • (8) 1/4" Tab Term, 25A 250Vac
  • Montague Oven Vectaire: 70/115/Vectair Ii (03/15/10)
Write Your Own Review
You're reviewing:Montague 48479-2 4-Position Oven Rotary Switch 25A/250VAC 1/4" TAB
Your Rating
Customer Questions
What maintenance is required for the Montague 48479-2 Rotary Switch?

Regularly inspect the rotary switch for loose terminals, heat discoloration, or worn contact points that may affect oven control performance. Keep the switch area free from grease and moisture buildup to prevent electrical issues. Verify smooth rotation between positions during equipment servicing.

What are common issues with the Montague 48479-2 Rotary Switch?

  • Contact wear causing intermittent switching.
  • Overheating from loose or corroded terminals.
  • Arcing during load changes.
  • Selector misalignment leading to incorrect settings.

We strive to provide our customers with a hassle-free and efficient shopping experience. Our shipping policy ensures the timely delivery of your orders and complete customer satisfaction. View More

We are committed to ensuring your complete satisfaction with every purchase. We understand that circumstances may arise where you must return a product or request a refund. If for any reason you are not satisfied, you may return the item(s) according to the terms outlined below. View More

This Payment Policy outlines the terms and conditions governing all payments made for products purchased through our website. By making a purchase, you agree to be bound by this Payment Policy. View More

Installation Steps

Step1: Disconnect the oven power supply at breaker to avoid electric shock and check no voltage is present.

Step2: Remove oven control panel and note wiring positions on old switch.

Step3: Disconnect terminals from existing old rotary switch carefully.

Step4: Mount the new switch in the same orientation.

Step5: Reconnect wires to matching terminals as per diagram correctly.

Step6: Secure panel, restore power, test all positions before use.