
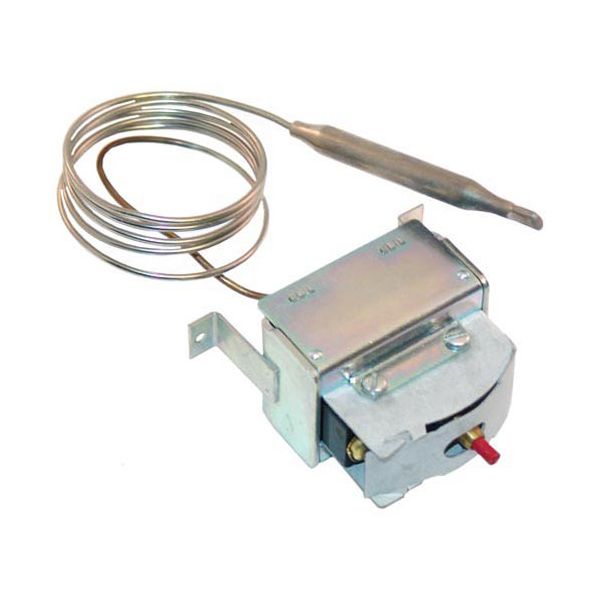
Cecilware L027A Safety Thermostat LCH 5/16 X 3-3/8 36

Special Price $101.75 Regular Price $156.78
Out of stock
SKU
L027A
Manufacturer:

The Cecilware L027A Safety Thermostat is intended for applications of fryers and assists in thermal regulation. It has a 5/16 x 3-3/8 nickel bulb and a 36-inch capillary tube for accurate temperature measurement. Designed to work with fryer models EL120, EL250, EL270, EL310, EL410, EL600, EL750, EL900, and ELT500, this thermostat turns off and resets when the temperature reaches 450°F. Due to its ability to provide safety, and guard equipment against damage, MAK has considered the manual reset function to be an essentialfor fryer function and durability.

Dimensions

  • Length: 6.5 In
  • Width: 5 In
  • Height: 2.875 In
  • Weight: 0.5 lbs
https://partsfe.com/media/catalog/product/c/e/cecilware-l027a-safety-thermostat-lch-5-16-x-3-3-8-36-98385.jpg

Product Notes

  • Hi-Limit
  • [ Type - Lch W/Manual Reset ] [ Temp 450 Fixed ]
  • [ Bulb 5/16" X 3-3/8" Nickel ] [ Cap 36" ]
  • [ Brkt Style 4 ]
  • Cecilware
  • Fryer El120, El250, El270, El310,
  • El410, El600, El750, El900, Elt500.
GRINDMASTER:
METAL MASTERS:
U-LINE:
5225-046, LCH66-36
Write Your Own Review
You're reviewing:Cecilware L027A Safety Thermostat LCH 5/16 X 3-3/8 36
Your Rating
Customer Questions
What maintenance is required for the Cecilware L027A Safety Thermostat?

Inspect thermostat contacts and wiring for corrosion or looseness. Clean exterior and ensure proper mounting away from moisture. Periodically test calibration for accurate temperature control. Replace damaged connectors and follow electrical safety precautions.

What are common issues with the Cecilware L027A Safety Thermostat?

  • Temperature inaccuracy due to worn or degraded contacts.
  • Thermostat fails to switch on/off properly.
  • Intermittent electrical connection or loose wiring.
  • Overheating or failure to regulate due to sensor malfunction.
  • Erratic cycling or inconsistent temperature response.

We strive to provide our customers with a hassle-free and efficient shopping experience. Our shipping policy ensures the timely delivery of your orders and complete customer satisfaction. View More

We are committed to ensuring your complete satisfaction with every purchase. We understand that circumstances may arise where you must return a product or request a refund. If for any reason you are not satisfied, you may return the item(s) according to the terms outlined below. View More

This Payment Policy outlines the terms and conditions governing all payments made for products purchased through our website. By making a purchase, you agree to be bound by this Payment Policy. View More

Installation Steps

Step1: Wear insulated gloves when handling electrical components.

Step2: Disconnect electrical power at breaker and check zero voltage with tester.

Step3: Remove cover panel and access old thermostat.

Step4: Label and carefully disconnect wiring.

Step5: Mount new thermostat securely in same position properly.

Step6: Reconnect wires as noted, tighten terminals.

Step7: Restore power and safely test temperature control; ensure safe operation.

Step8: check thermostat calibration per manufacturer specifications.