
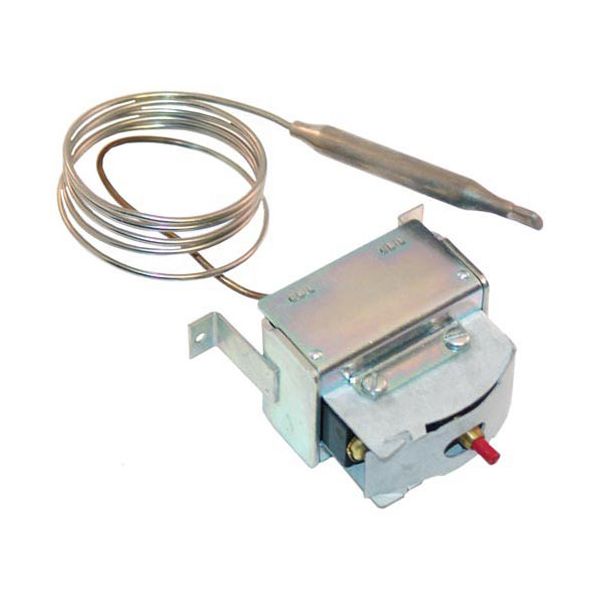
Metal Masters 308602 Oven Safety Thermostat LCH

Special Price $101.75 Regular Price $156.78
Out of stock
SKU
308602
Manufacturer:

The Metal Masters 308602 Safety Thermostat LCH provides accurate temperature management for oven applications to enhance both operational performance and safety measures. The thermostat maintains temperature control effectively to stop overheating which safeguards appliances and their users. The durable construction along with reliable functionality extends both safety and operational life of the oven. The thermostat provides simple installation procedures which makes it compatible with many oven models to integrate easily into current systems. This thermostat serves residential as well as improve ovens by providing energy-efficient temperature control which results in superior cooking and baking outcomes.

Dimensions

  • Length: 6.5 In
  • Width: 5 In
  • Height: 2.875 In
  • Weight: 0.5 lbs
https://partsfe.com/media/catalog/product/m/e/metal-masters-308602-oven-safety-thermostat-lch-58591-2.jpg

Product Notes

  • Hi-Limit
  • [ Type - Lch W/Manual Reset ] [ Temp 450 Fixed ]
  • [ Bulb 5/16" X 3-3/8" Nickel ] [ Cap 36" ]
  • [ Brkt Style 4 ]
  • Cecilware
  • Fryer El120, El250, El270, El310,
  • El410, El600, El750, El900, Elt500.
GRINDMASTER:
METAL MASTERS:
U-LINE:
5225-046, LCH66-36
Write Your Own Review
You're reviewing:Metal Masters 308602 Oven Safety Thermostat LCH
Your Rating
Customer Questions
What maintenance is required for the Metal Masters 308602 Safety Thermostat?

Inspect wiring and thermostat contacts regularly to ensure secure connections and accurate temperature control. Clean dust or grease buildup around the sensor area to maintain responsiveness. Periodic calibration ensures safety and consistent oven performance.

What are common issues with the Metal Masters 308602 Safety Thermostat?

  • Thermostat drift causing inaccurate temperatures.
  • Intermittent heating failure due to faulty contacts.
  • Sensor misreading from grease or debris buildup.
  • Inconsistent temperature regulation during operation.

We strive to provide our customers with a hassle-free and efficient shopping experience. Our shipping policy ensures the timely delivery of your orders and complete customer satisfaction. View More

We are committed to ensuring your complete satisfaction with every purchase. We understand that circumstances may arise where you must return a product or request a refund. If for any reason you are not satisfied, you may return the item(s) according to the terms outlined below. View More

This Payment Policy outlines the terms and conditions governing all payments made for products purchased through our website. By making a purchase, you agree to be bound by this Payment Policy. View More

Installation Steps

Step1: Wear insulated gloves and disconnect power of oven at breaker, confirm no voltage.

Step2: Remove oven panel to access thermostat and note wiring positions.

Step3: Disconnect wires carefully and remove mounting screws.

Step4: Install new thermostat in same position and secure firmly.

Step5: Reconnect wiring as labeled, ensuring tight connections.

Step6: Reassemble panel, restore power, and test oven safety cutoff opeartion.

Step7: check thermostat calibration and check for proper heating response.