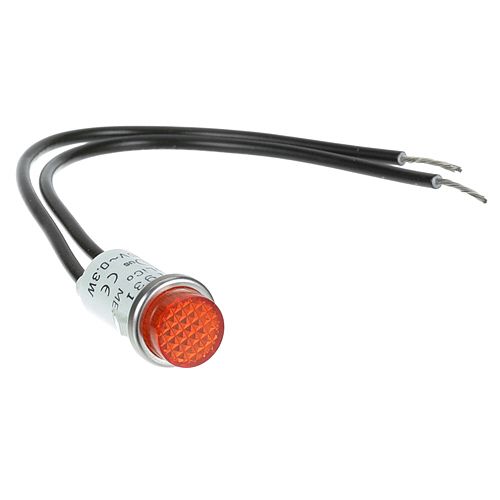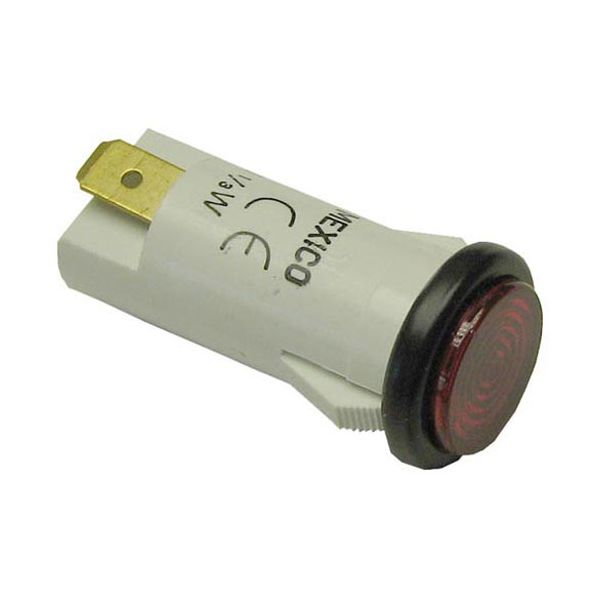
Vulcan Hart 00-720017 Gas Griddle Signal Light 1/2" Hole 1/3W 125V

Special Price $10.32 Regular Price $12.00
In stock
SKU
00-720017
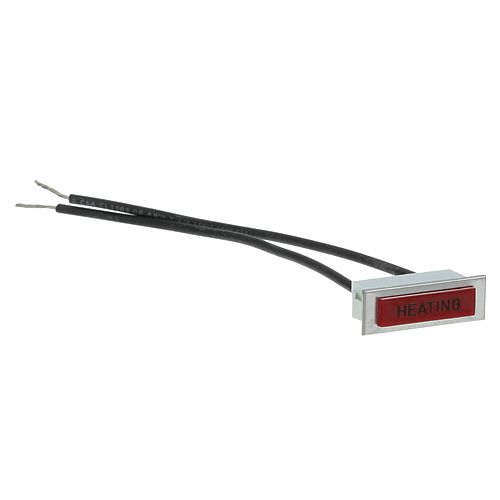
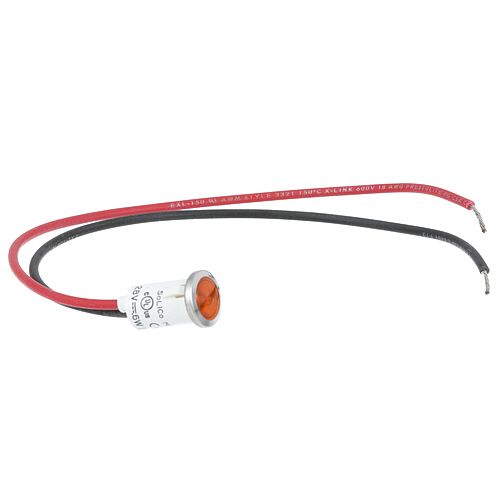
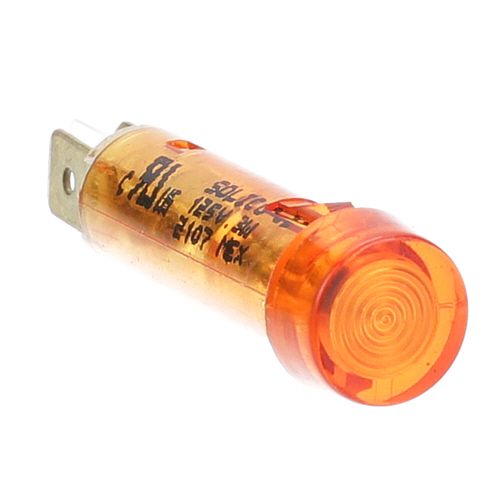
The Vulcan Hart 00-720017 Gas Griddle Signal Light operates by lighting when electrical current passes through the internal element, indicating that the control circuit of the appliance is hot when it is on. It is mounted on the front panel and slides through a 1/2" panel opening. It is set to run at 125 volts with a 1/3 watt draw and gives a visual signal of the electrical state during the normal operation in the cooking cycles of the griddle.

Dimensions

  • Length: 1.25 In
  • Width: 0.625 In
  • Height: 0.625 In
  • Weight: 0.1 lbs
https://partsfe.com/media/catalog/product/v/u/vulcan-hart-00-720017-125v-1-3w-food-warmers-signal-light-fits-hole-1-2-31164-2.jpg

Product Notes

  • Signal Light
  • 125V, 1/3W [ Fits Hole 1/2" ] [3/16" Tabs ] [Color Red]
  • [ Type Hat Flat ][ Bezel Black] [ Fastener Lock Tabs],
  • Flat On Side
  • Hatco Food Warmers Grcw-1, Series: Fdw, Fs, Fshc, Fst, Grhd
  • Nemco Hot Dog Grill
  • Roll-A-Gril (Connelly)
  • Wolf Grill Series: Eme, Emtg, Hi-Boy/Mtg/Pro, Regency,
  • Stg-Sap, Tme, Tmm.
  • Hotplate Etsc.
  • Oven Afs, Caf, Kafs, Kcaf, Kf, Kfs, Xfs.
Write Your Own Review
You're reviewing:Vulcan Hart 00-720017 Gas Griddle Signal Light 1/2" Hole 1/3W 125V
Your Rating
Customer Questions
What maintenance is required for the Vulcan Hart 00-720017 Signal Light?

Regularly inspect the food Warmer signal light for proper illumination and mounting. Clean the lens to maintain visibility and check wiring connections for wear or looseness. Ensure power is disconnected before servicing to prevent electrical hazards and maintain safe operation.

What are common issues with the Vulcan Hart 00-720017 Signal Light?

  • Food Warmer signal light not illuminating due to bulb or internal failure.
  • Flickering light caused by loose wiring or poor connections.
  • Dim output from voltage inconsistencies.
  • Improper fit or instability in mounting hole.
  • Electrical short or burnout under continuous use.

We strive to provide our customers with a hassle-free and efficient shopping experience. Our shipping policy ensures the timely delivery of your orders and complete customer satisfaction. View More

We are committed to ensuring your complete satisfaction with every purchase. We understand that circumstances may arise where you must return a product or request a refund. If for any reason you are not satisfied, you may return the item(s) according to the terms outlined below. View More

This Payment Policy outlines the terms and conditions governing all payments made for products purchased through our website. By making a purchase, you agree to be bound by this Payment Policy. View More

Installation Steps

Step1: Disconnect power from the food warmer and allow the unit to fully cool before servicing.

Step2: Remove the front panel or indicator housing to access the signal light assembly.

Step3: Gently disconnect the wiring terminals from the old light.

Step4: Release the lock tabs and pull out the defective signal light from the mounting hole.

Step5: Insert the new light, ensuring it seats firmly and terminals are correctly aligned.

Step6: Reconnect wiring, restore power, and confirm the indicator illuminates during operation safely.