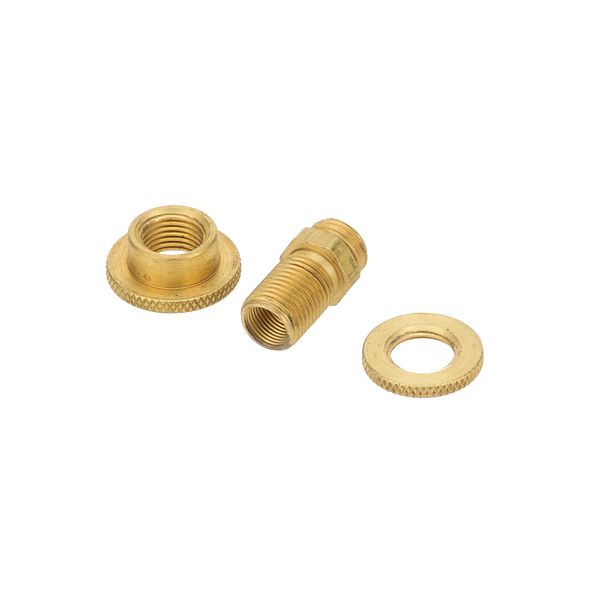
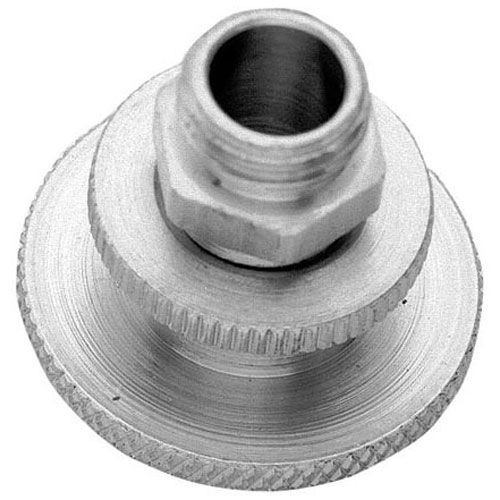
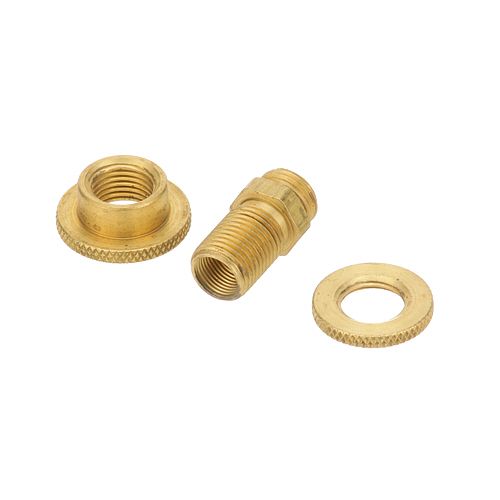
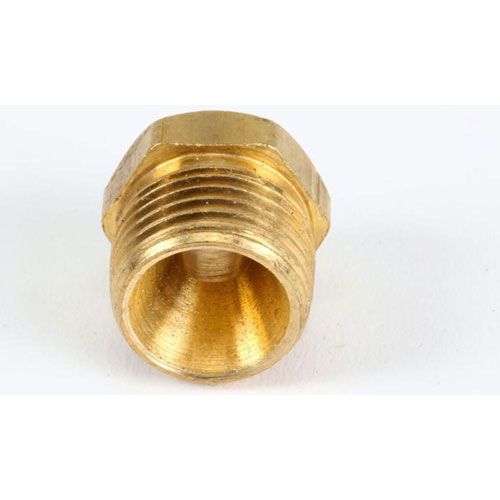
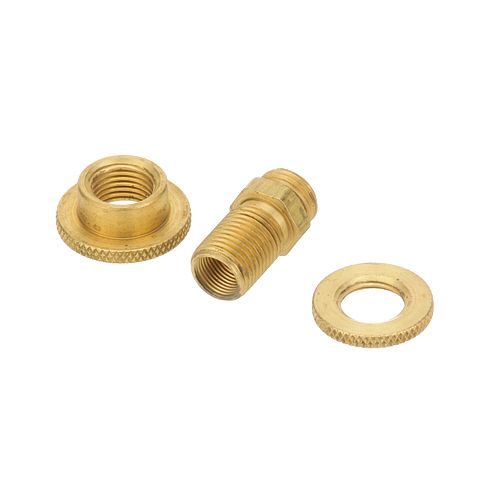
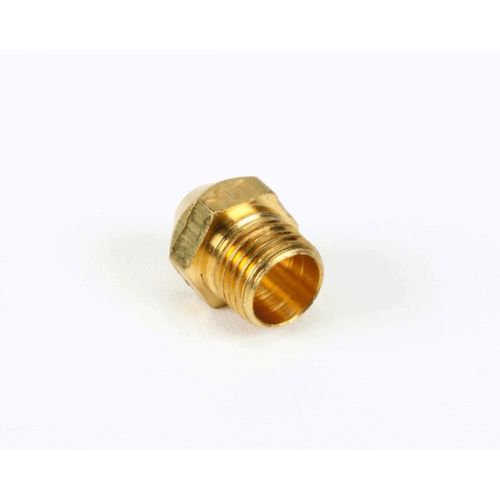
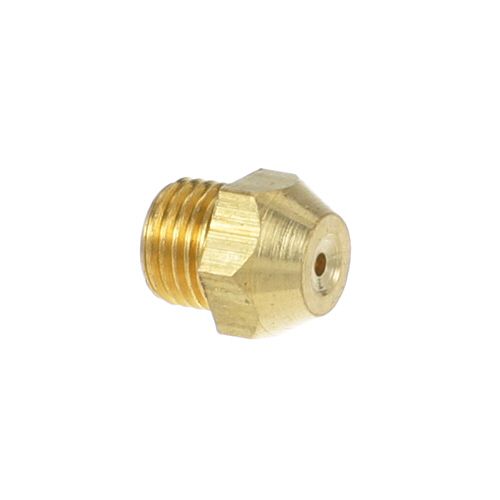
Regulates fuel delivery within the pizza oven's gas system by controlling gas flow through its specified orifice. The Bakers Pride R3007X Pizza Oven Spud Assembly #3 serves as a accuracy gas-metering component in the burner supply path, helping establish the intended amount of fuel reaching the burner. Its defined passage supports proper gas-to-air mixing and stable combustion, while consistent metering helps maintain reliable burner operation and heating performance throughout the oven's operating cycle.
Gas Metering:
Controls the amount of gas passing through the precision orifice according to its specified passage size. A clean, correctly sized opening helps maintain consistent fuel delivery and supports the intended burner performance.
Fuel Delivery:
Provides a controlled path for metered gas to travel from the gas supply system toward the burner assembly. The spud's specified orifice limits and regulates the fuel passage, helping deliver the proper gas flow required for burner operation. Consistent fuel delivery supports stable combustion, reliable burner performance, and uniform heating during the oven's operating cycle.
Replacement Guidelines:
Replace the Pizza Oven Spud Assembly if it is damaged, cracked, deformed, corroded, or no longer provides proper gas-flow control. The part number R3007X and #3 spud assembly configuration should be verified before replacement to ensure the correct spud assembly is selected. Replace the assembly if deterioration affects gas flow, connection integrity, burner operation, or normal oven operation.
Common Failure Symptoms:
- Gas flow to the burner is reduced or affected.
- Spud shows visible physical damage or deterioration.
- Burner heating becomes uneven or inconsistent.
- The spud or its orifice shows signs of obstruction.
Equipment Compatibility:
Verify that BAKERS PRIDE part number R3007X matches the equipment documentation before purchasing. Confirm the applicable pizza oven configuration, spud assembly specifications, and manufacturer parts information. Match the complete oven model number to part number R3007X to confirm the intended application.
Technical Specifications:
Brand: Bakers Pride
Part Number: R3007X
Component Name: Spud Assembly
Appliance Type: Commercial Pizza Oven